
Layout Options
You can display your data in three different layouts, each suited for different purposes. Custom layouts to customize what the page looks like for each type of record will be released in December 2025.Default View
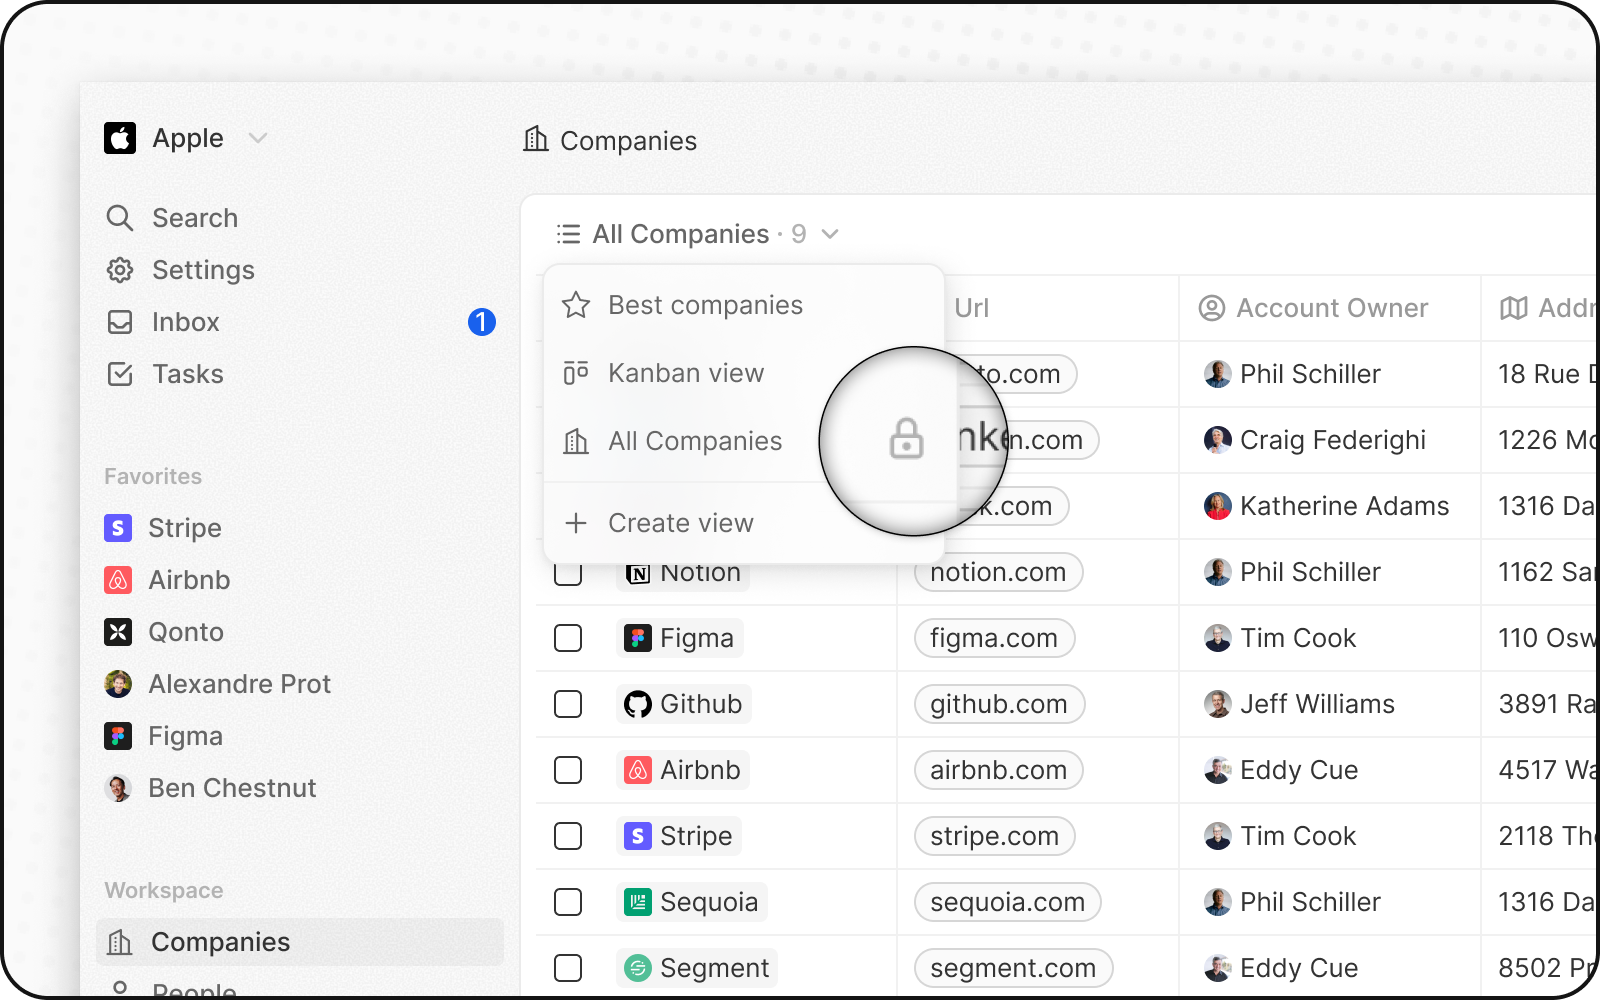
Each object comes with an unfiltered, unsorted, and undeletable view known as the Default view. It’s named after the object’s plural name, such asAll Companies,All People, All Opportunities.
List Layout
The standard table format that displays records in rows and columns. This is perfect for seeing detailed information at a glance and comparing records side by side.List Group By Layout
Organizes your records by grouping them based on a select field. For example, you can group opportunities by stage, companies by locations, or any other select field. This helps you see patterns and organize related records together.Kanban Layout
A visual board where each column represents a stage and each record appears as a card. This layout is ideal for managing pipelines and workflows where records move through different stages. For more details on using Kanban views for pipeline management, see our Pipeline article.Creating New Views
There are three ways to create a new view:Using the Command Menu
UseCmd+K on Mac (or Ctrl+K on Windows) to open the command menu, then click Create a new view.
Using the View Dropdown Menu
Click on the view dropdown menu (top left), then clickAdd View at the bottom. From this menu you can:
- Choose an icon and name for your view
- Select the layout type (List or Kanban)
Important: You need to first select the List layout and then add a Group By. You cannot create a List Group By directly from there.
- For Kanban views, select which select field to use as column headers
Creating Views from Existing Filters
When you modify the sorting and filtering of an existing view, aSave as new view button appears. This lets you create a new view based on your current customizations.
Making Views Actionable
The guidance below shows you how to customize the columns of your views. We do not recommend keeping all the columns: those views can be simplified and made actionable by adding sorting conditions and displaying only certain columns that are relevant to your specific use case.Customizing Your Views
All layouts support the same customization options: sorting, filtering, and field selection. You can make quick one-time changes by clicking directly on the column name, or use theOptions Menu for more comprehensive editing.
Quick Actions vs Options Menu
For one-time changes: Click directly on column headers to sort, or use theMove Left, Move Right buttons.
For multiple edits: Use the Options Menu (top right corner) when you want to make several changes in a row. This menu gives you access to:
- Layout selection (List, List Group By, Kanban)
- Grouping options (for List Group By layout)
- Fields management (show/hide and reorder columns)
Filtering Your Data
You can apply filters to show only the records that match your criteria. ClickFilter in the toolbar, select a field, choose your condition, and set the value. You can add multiple filters for advanced filtering based on several conditions.
Sorting Your Records
Control the order of your records by clicking on any column header to sort by that field. Click again to reverse the sort order. You can apply multiple sorts for complex organization.Managing Fields and Columns
You can choose which fields to display and reorder them. For quick changes, click on a column name directly. For multiple edits, useOptions Menu → Fields where you can:
- Show or hide fields using the eye icon
- Reorder fields by dragging and dropping
- Make multiple changes efficiently in one place
Managing Your Views
View Dropdown Menu Features
The view dropdown menu (top left) is your central hub for view management. From here you can:- Edit view names and icons: Click the three dots next to any view
- Reorder views: Drag and drop views to organize them by priority
- Save views as favorites: Favorites appear just under Settings for quick access