You can see your records in different ways by creating views. In a view, you can apply filters and sorts to organize your content efficiently. For instance, on the People object, you can create a view to isolate US contacts by filtering those with a US phone number.
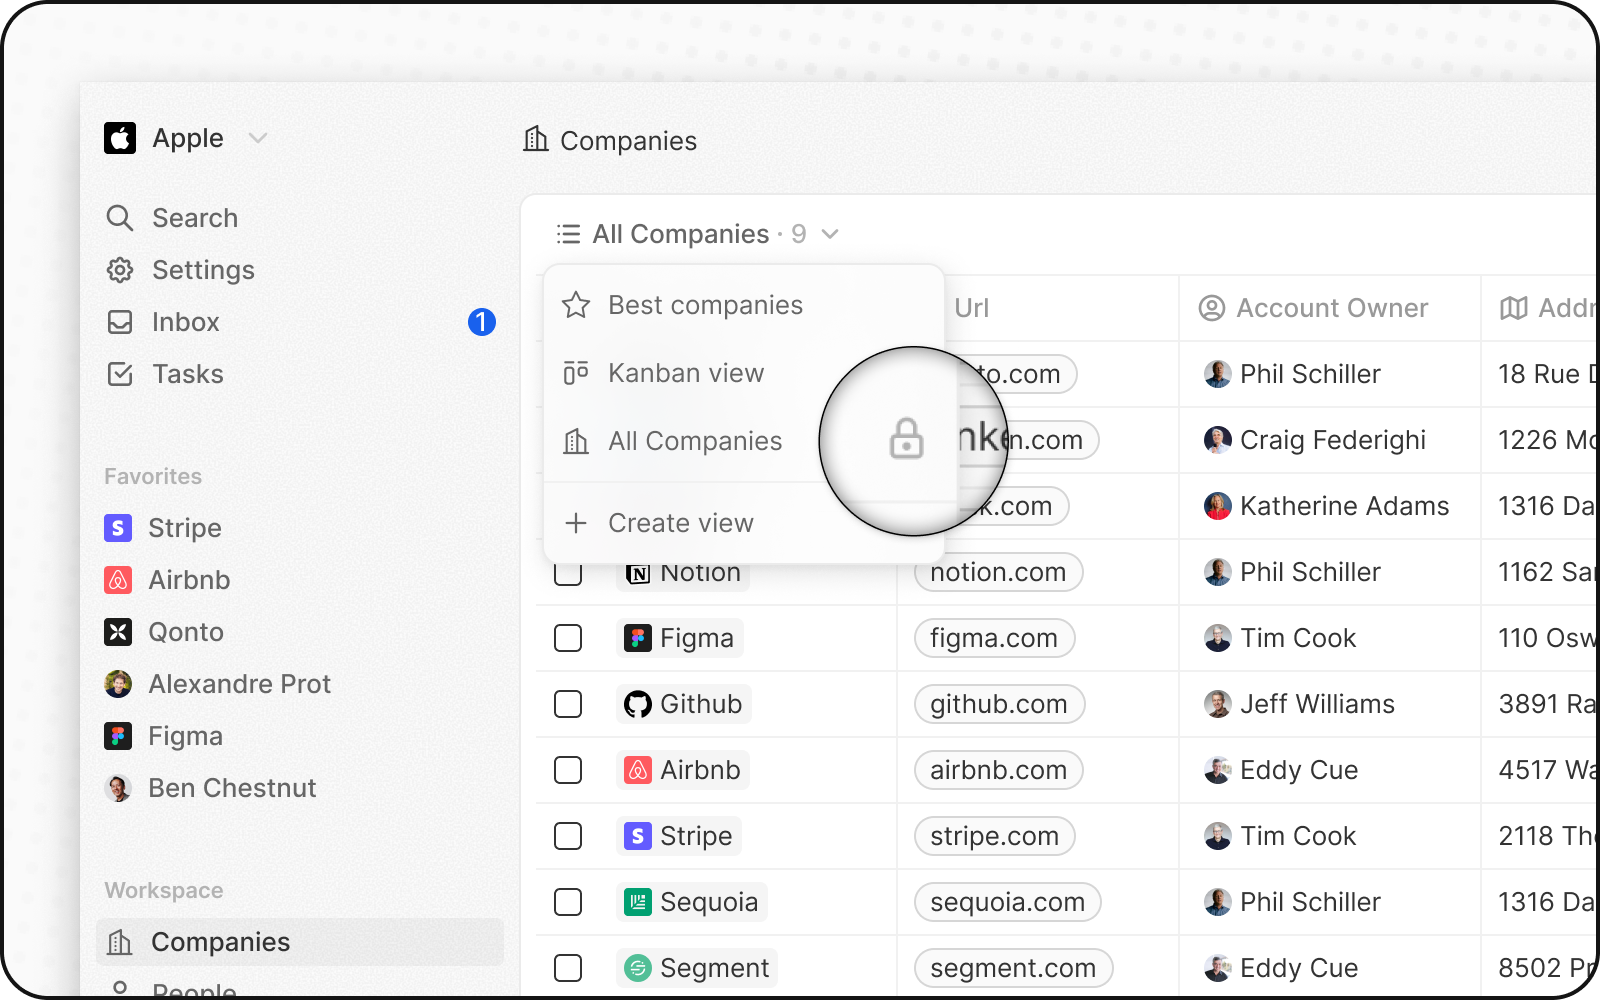
Each object comes with an unfiltered, unsorted, and undeletable view known as the Default view. It’s named after the object’s plural name, such as “All Companies”, “All People”, “All Opportunities”.
Click the Add View button at the bottom of the view switcher menu.
Choose an Icon and name for your View.
Choose a “View type” between Table and Kanban.
(Kanban Views only) For your Kanban view, select the Select field you wish to use as the column header. The system prompts you to create one from the Settings before enabling Kanban view creation, if your object lacks a Select type field.
When you change the Sorting and Filtering of an existing view, a Save as new view button will appear at the right edge of the View Bar. This will open the New View menu mentioned above, allowing you to create a new view out of an existing one.
Each view can be customized to streamline your business processes. Views help segment your data. You can customize views using filters, sorts, and field display.
You can customize which fields to display within a view. To hide a field, click Options > Fields and select the hide icon upon hover or click on the field column header and select hide.You can rearrange fields by clicking their field column header and then press Move Right or Move Left.