先决条件
- Node.js 24+ — 在此下载
- Yarn 4 — 通过 Corepack 随 Node.js 提供。 启用它:
corepack enable - Docker — 在此下载。 运行本地 Twenty 服务器所需。 如果你已经在其他地方运行了 Twenty,请跳过。
| 阶段 | 你要做什么 | 工具 | 结果 |
|---|---|---|---|
| 1. 脚手架 | 生成应用的源代码 | npx create-twenty-app | 磁盘上的一个 TypeScript 项目 |
| 2. 运行服务器 | 启动一个 Twenty 服务器以进行同步 | Docker + yarn twenty server | 一个正在运行的 Twenty 实例 |
| 3. 同步 | 将你的代码实时同步到服务器 | yarn twenty dev | 你的更改会出现在 UI 中 |
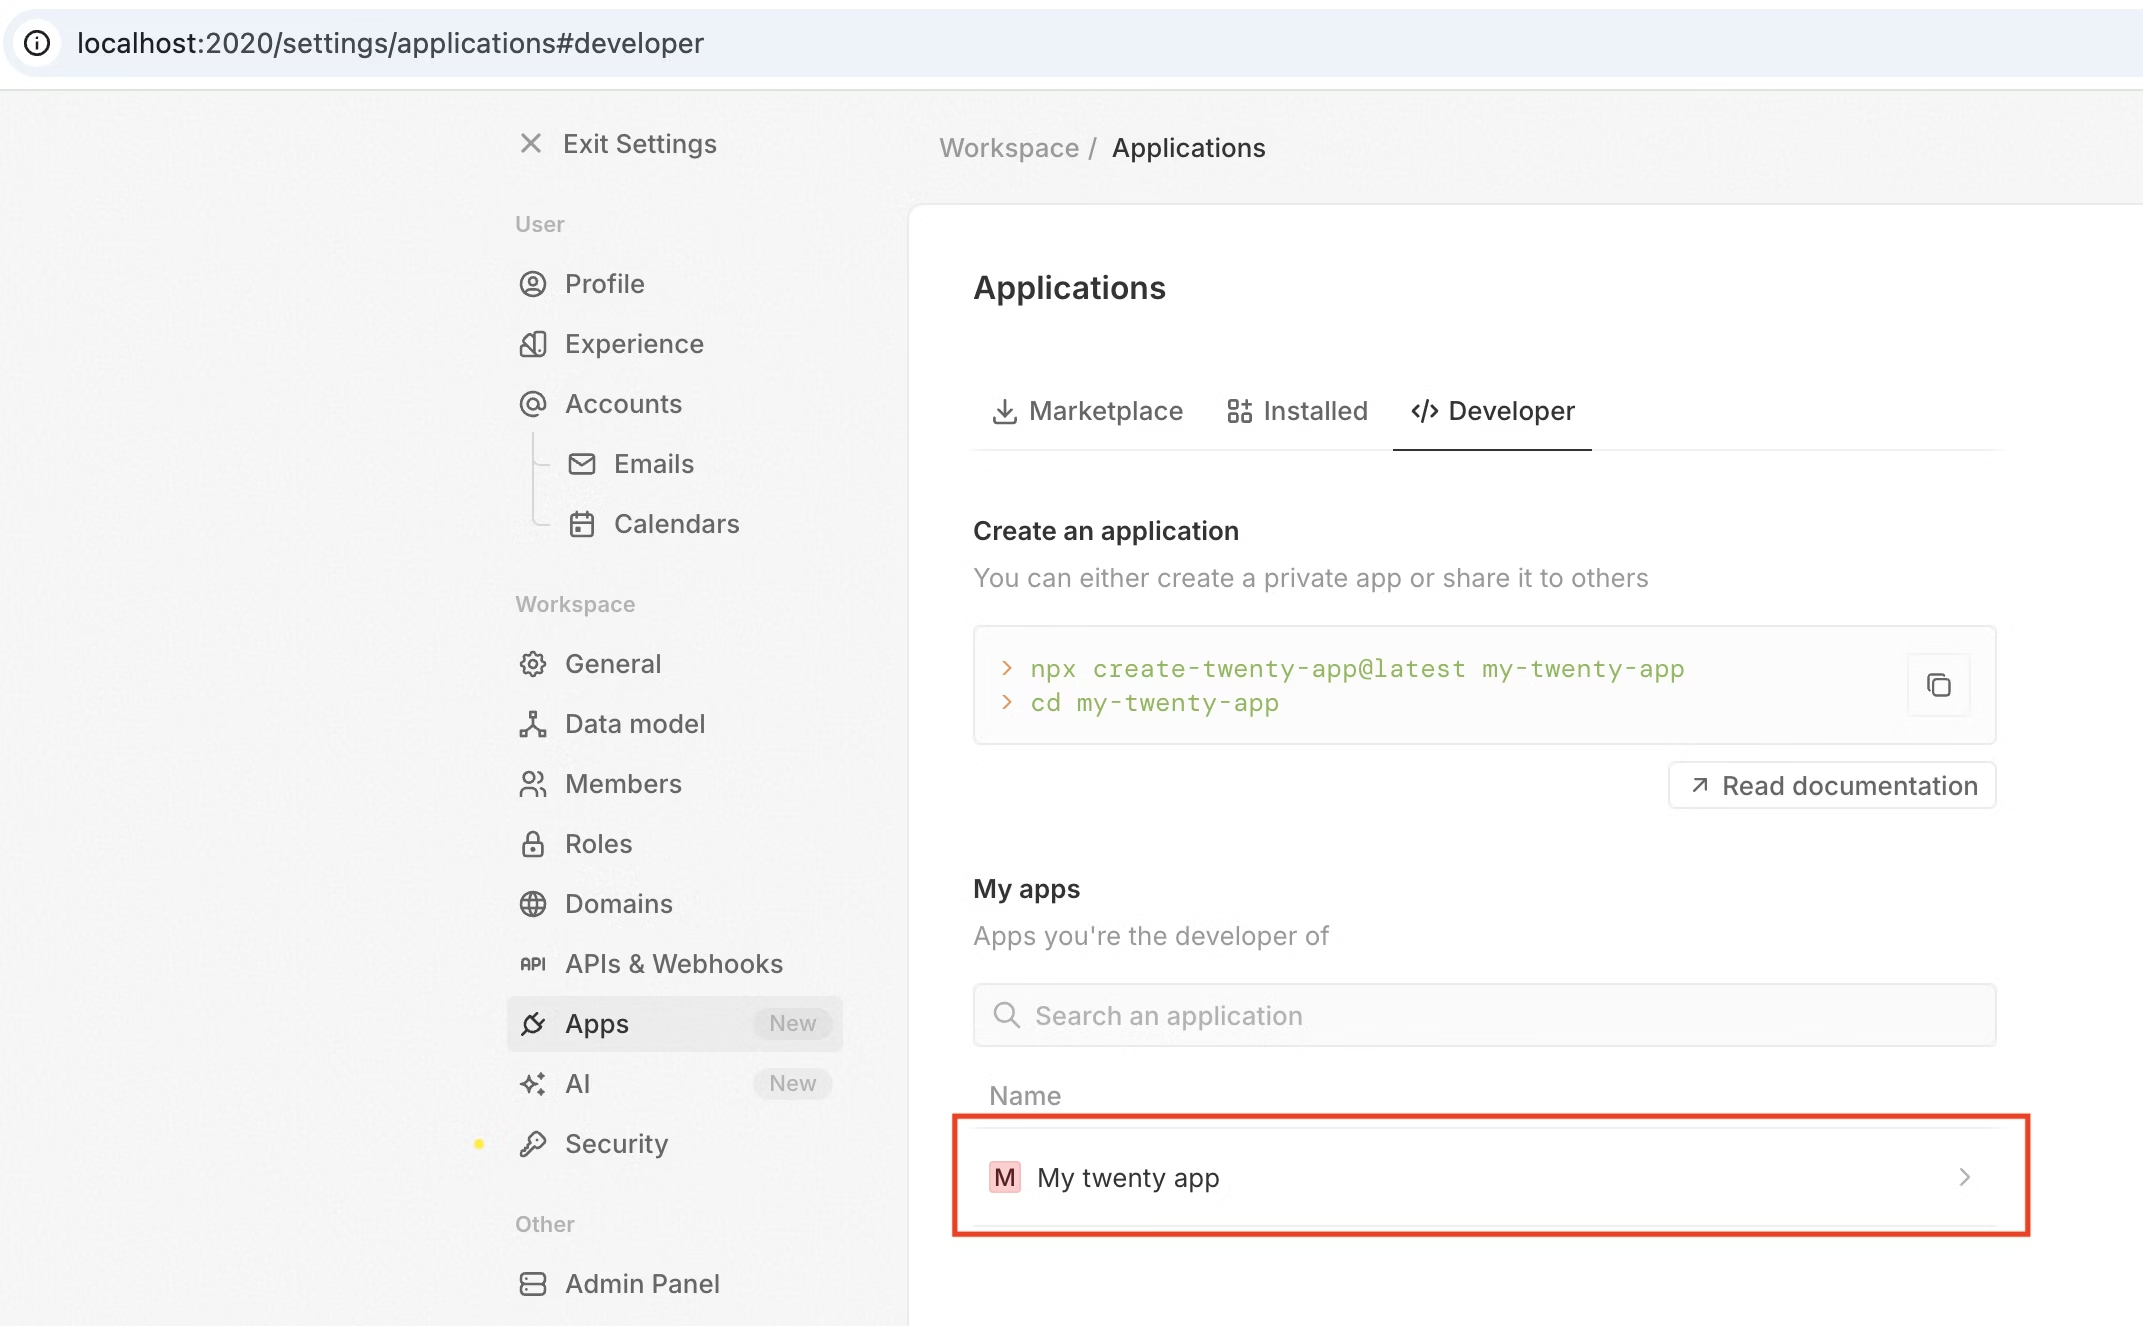
阶段 1 — 搭建项目脚手架
从模板创建一个新应用:my-twenty-app/ 中生成一个 TypeScript 项目,包含一个入门版的 application-config.ts、一个默认角色、一个 CI 工作流,以及一个集成测试。
完成此阶段后: 你的机器上已有该应用的源代码。 它还未运行——那是第 2 阶段的内容。
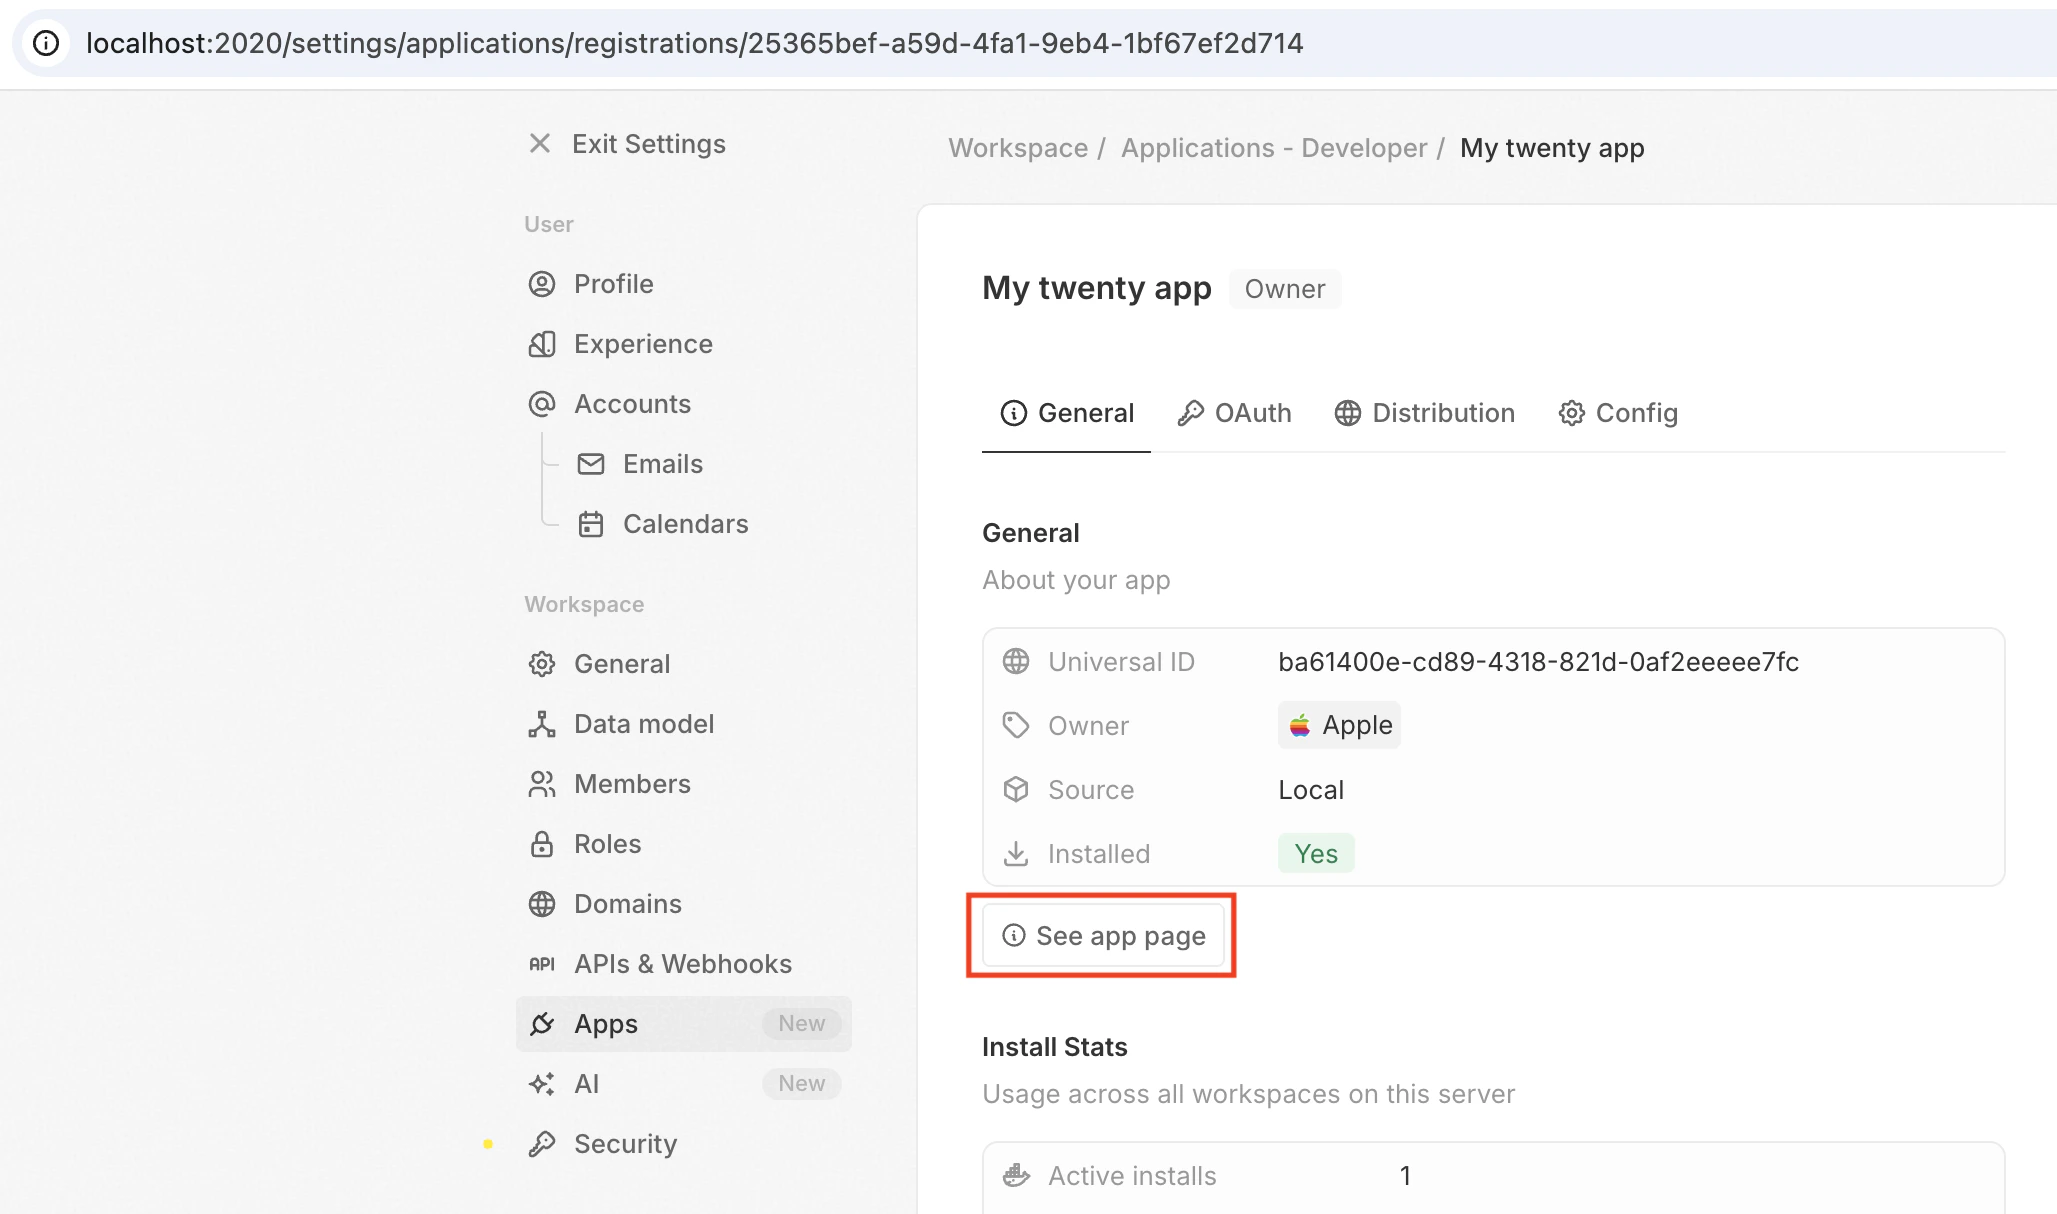
阶段 2 — 运行本地 Twenty 服务器
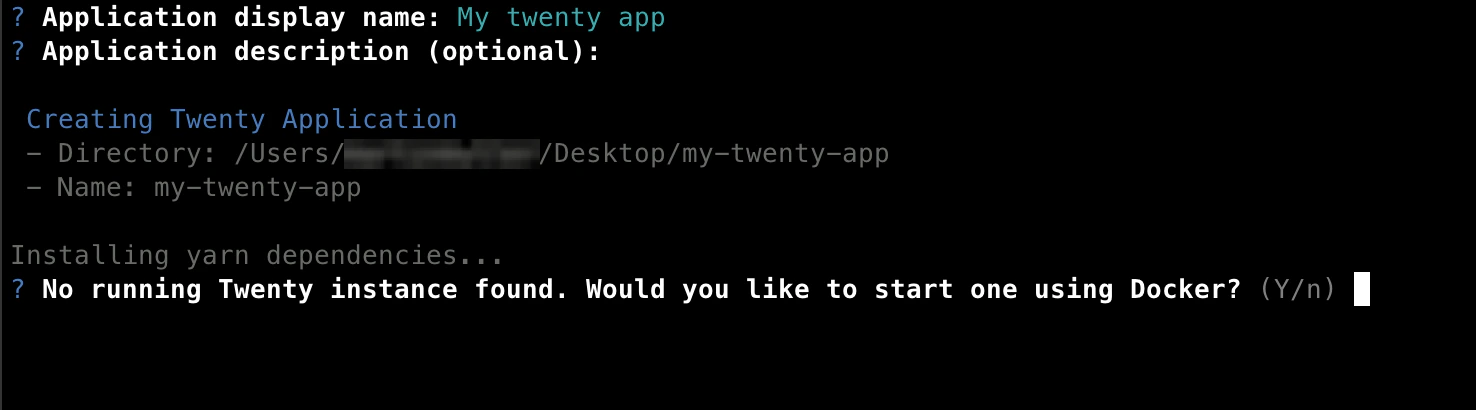
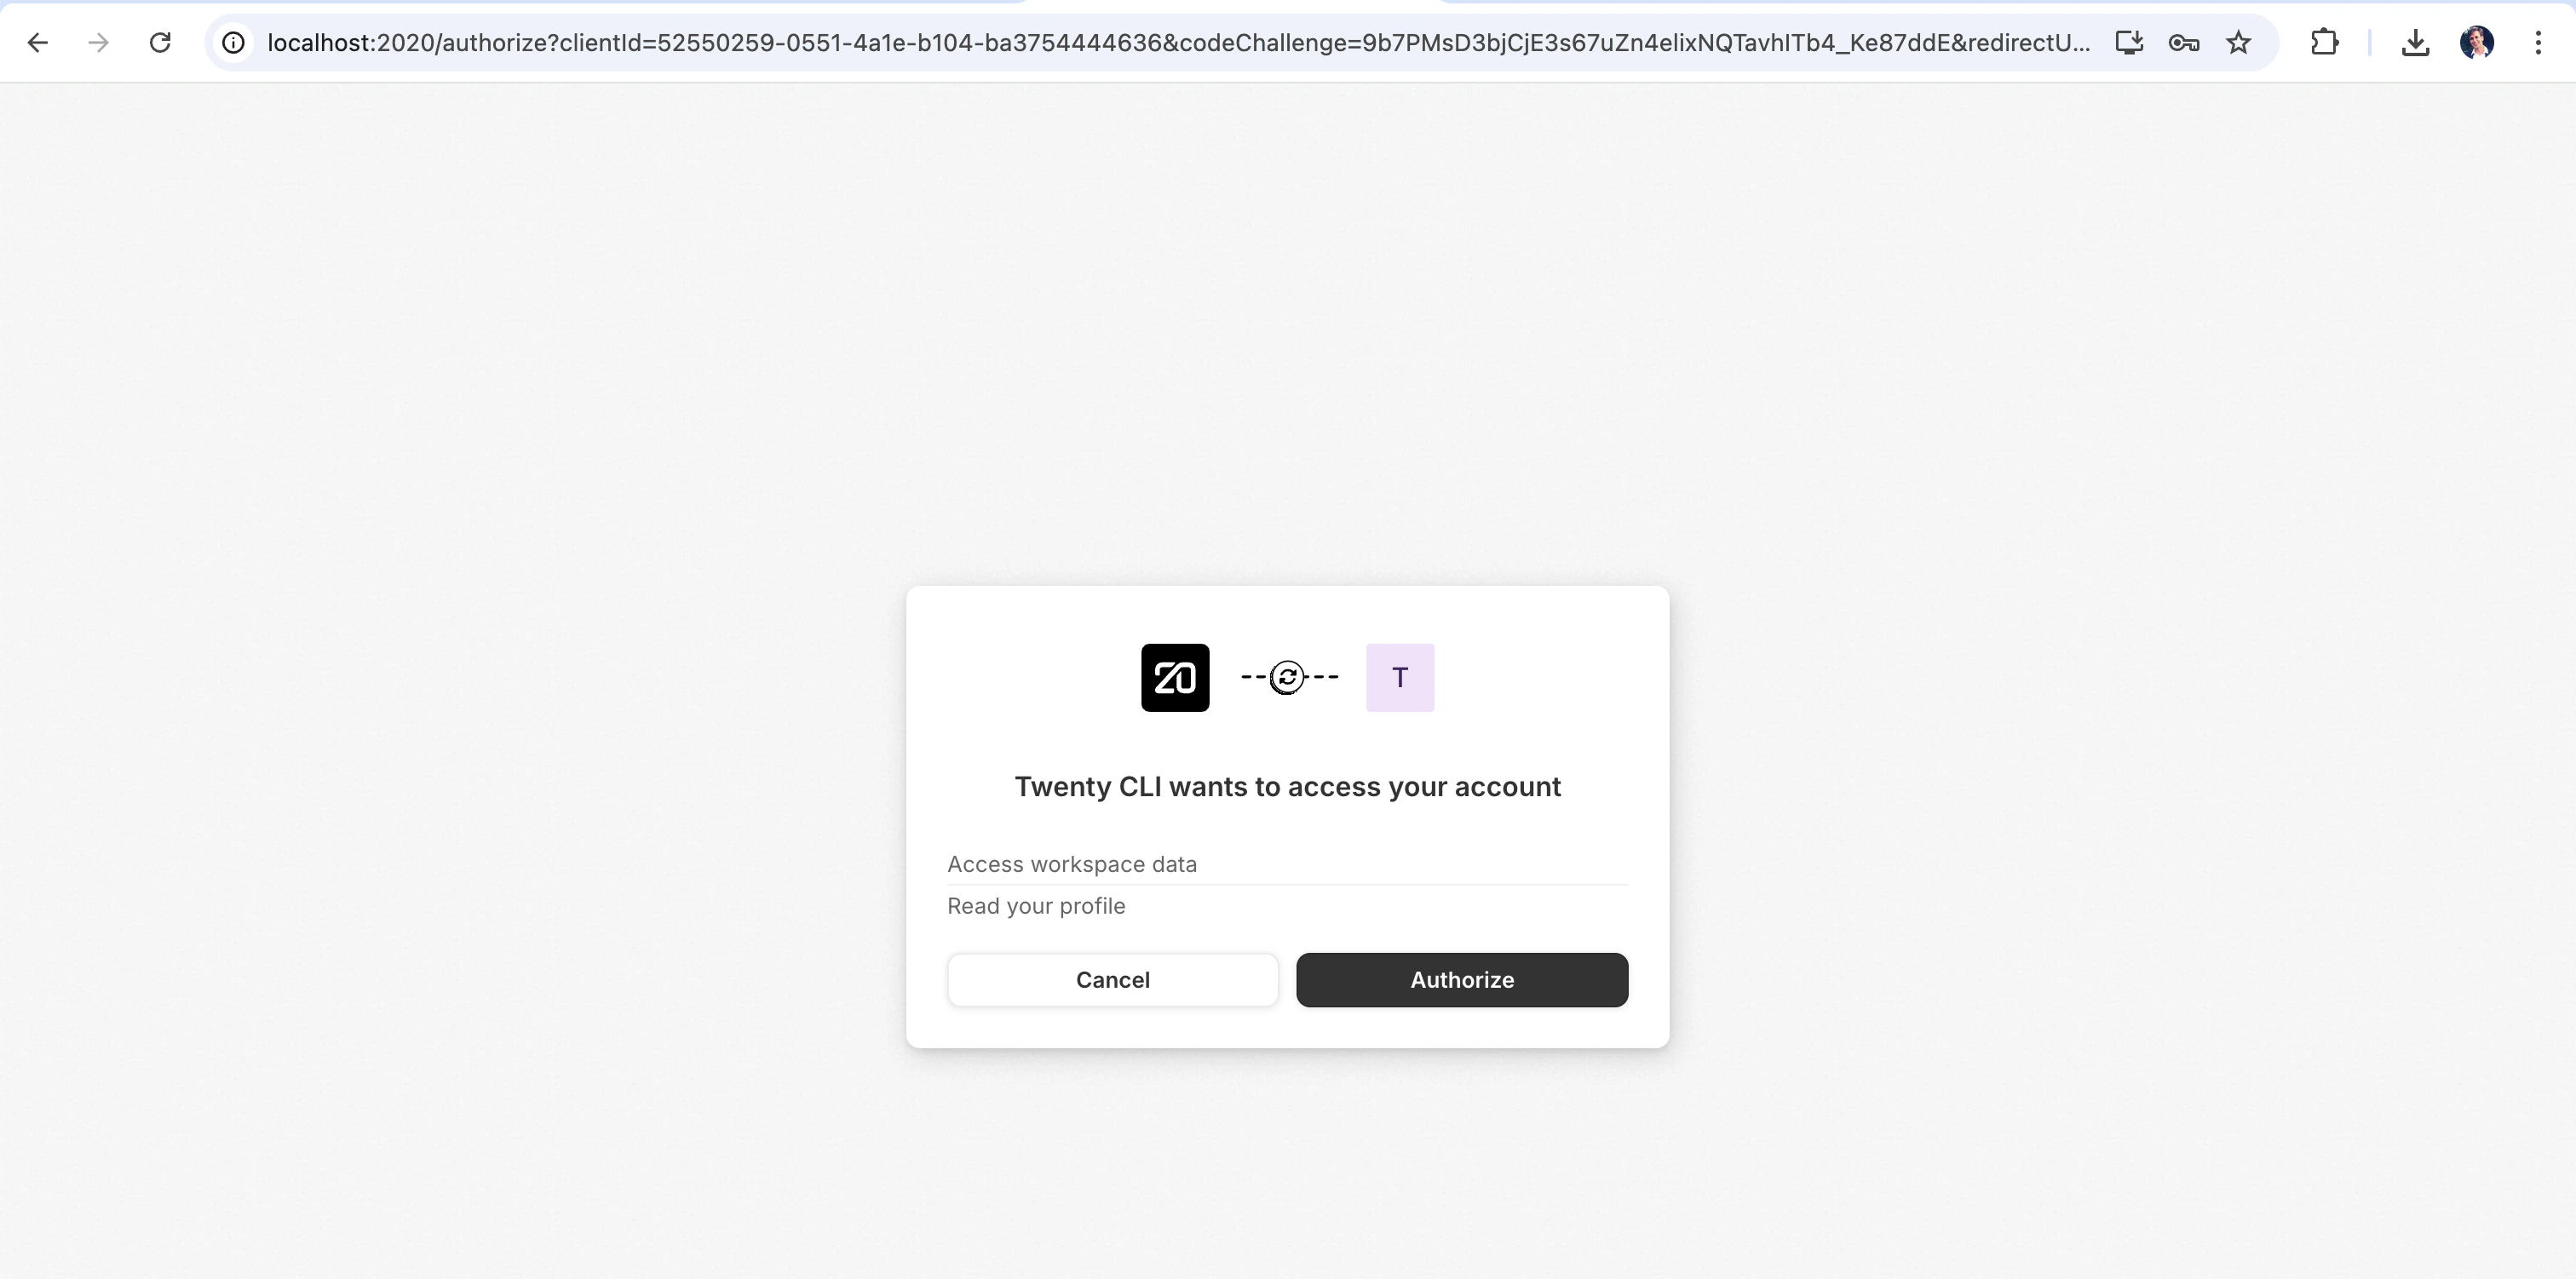
你的应用需要一个 Twenty 服务器来进行同步。 该服务器是一个完整的 Twenty 实例——包含 UI、GraphQL API、PostgreSQL——在本地的 Docker 中运行。 你的本地代码会将其定义上传到该服务器,从而使其显示在 UI 中。 脚手架工具会为你提供启动它的选项:是否要设置本地 Twenty 实例?
- 是(推荐) — 将拉取
twentycrm/twenty-app-devDocker 镜像,并在端口2020上启动它。 请先确保 Docker 正在运行。 - 否 — 如果你已经有一个想要连接的 Twenty 服务器,请选择此项。 你可以稍后通过
yarn twenty remote:add将其连接起来。
- 邮箱:
tim@apple.dev - 密码:
tim@apple.dev

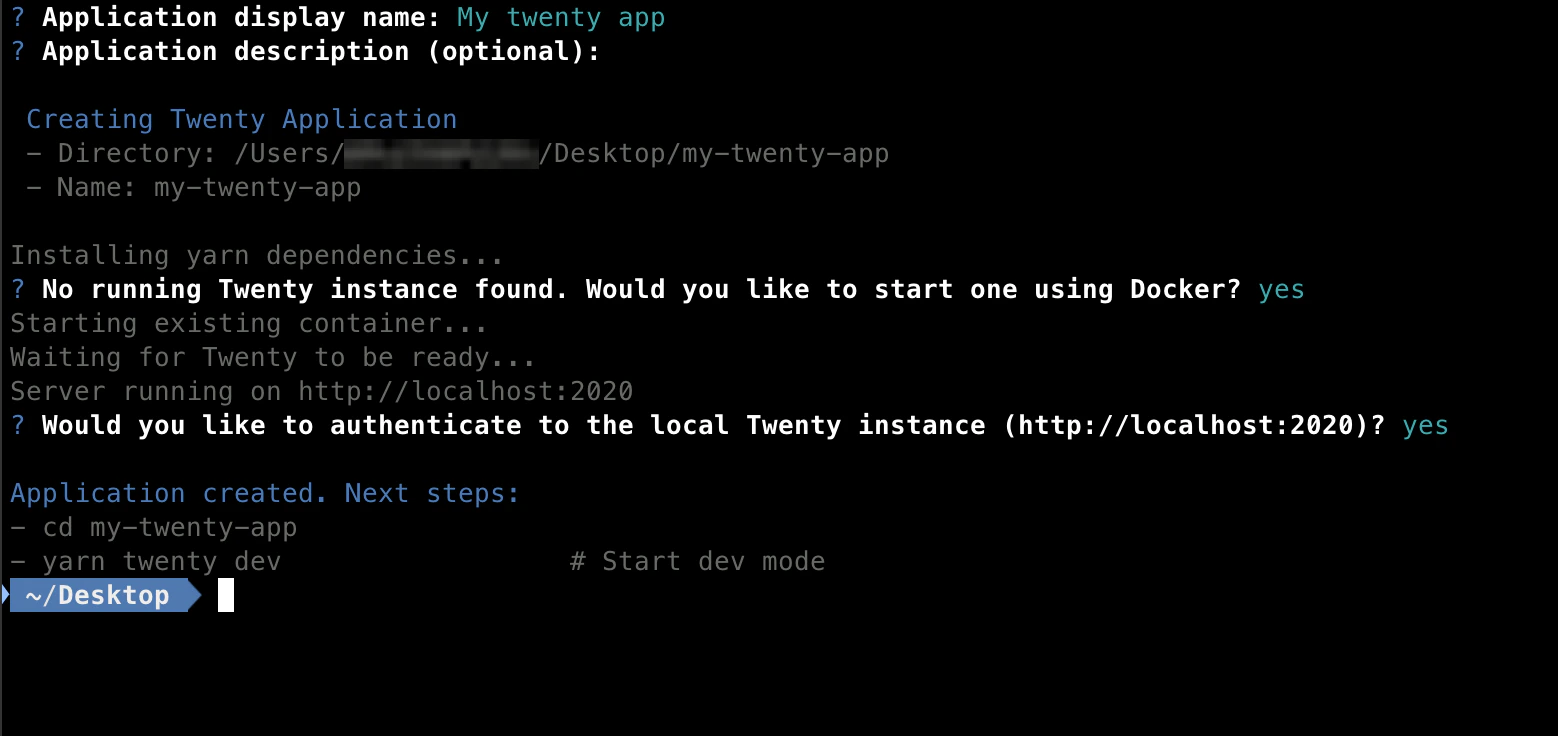
如果未安装或未运行 Docker,脚手架工具会告诉你在所用操作系统上正确的启动命令。 Docker 启动后,你可以通过
yarn twenty docker:start 继续——无需重新生成脚手架。阶段 3 — 同步你的更改
这是你大部分时间所处的内循环。src/,在每次更改时重新构建,并将结果同步到服务器。 编辑文件、保存,服务器会在几秒内反映出更改。 你会在终端中看到一个实时状态面板。
如需更详细的输出(构建日志、同步请求、错误跟踪),请添加 --verbose。
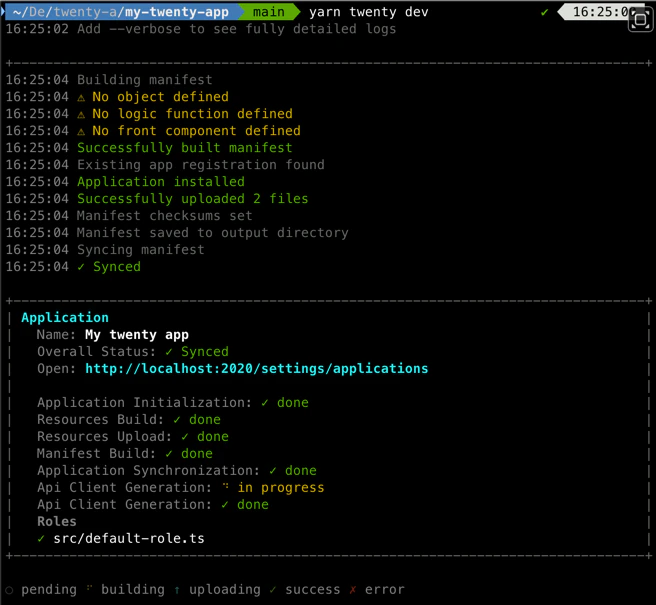
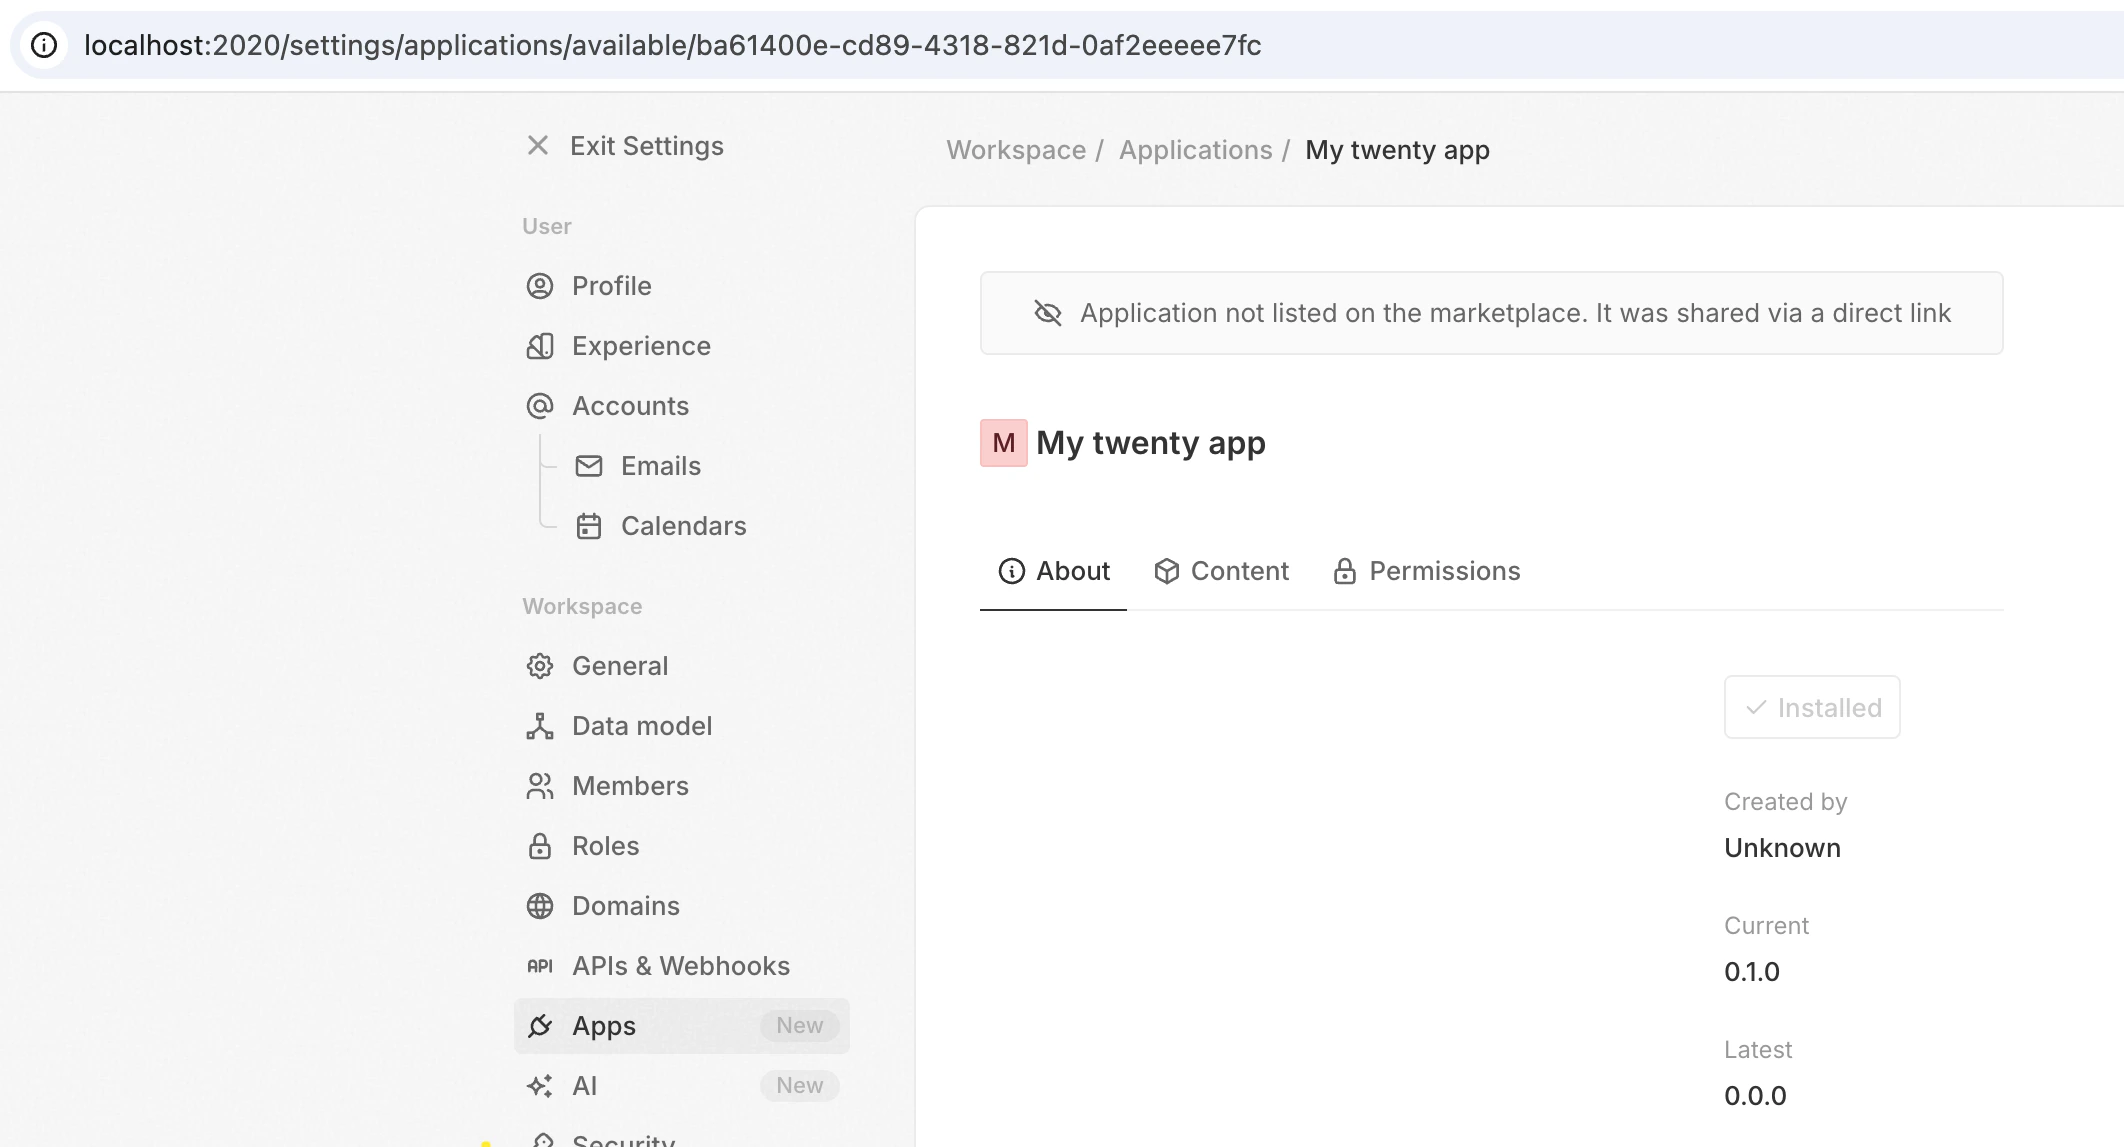
src/ 中的任意文件,更改会显示在 UI 中。
用于 CI 和脚本的一次性同步
传入--once 以执行一次构建与同步后退出——相同的流水线,无文件监视器:
| 命令 | 行为 | 适用场景 |
|---|---|---|
yarn twenty dev | 监视并在每次更改时重新同步。 持续运行,直到你将其停止。 | 交互式本地开发。 |
yarn twenty dev --once | 单次构建与同步,成功时以 0 退出,失败时以 1 退出。 | CI、pre-commit 钩子、AI 智能体、脚本化工作流。 |
yarn twenty dev --once --dry-run | 构建并打印元数据更改,但不会应用这些更改。 | 在提交同步之前检查它会更改哪些内容。 |
--dry-run 的更多信息,请参见 同步与恢复。
开发模式选项
| 标志 | 描述 |
|---|---|
--once | 仅构建并同步一次,然后退出。 |
--dry-run | 使用 --once 时,可在不应用元数据更改的情况下预览这些更改。 不写入任何内容。 |
--debounceMs \<ms> | 以毫秒为单位设置文件更改的防抖延迟(默认值:2000)。 |
--verbose / --debug | 显示详细的构建日志、同步请求和错误跟踪。 |
你可以构建的内容
应用由实体组成——每个实体定义为一个包含单一export default 的 TypeScript 文件:
| 实体 | 作用 |
|---|---|
| 对象与字段 | 自定义数据模型(明信片、发票等) 带有类型化字段 |
| 逻辑函数 | 由 HTTP 路由、cron 调度或数据库事件触发的服务端 TypeScript |
| 前端组件 | 在 Twenty 的 UI 内渲染的 React 组件(侧边面板、小部件、命令菜单) |
| 技能与智能体 | AI 能力——可复用的指令和自主助手 |
| 视图与导航 | 预配置的列表视图和侧边栏菜单项 |
| 页面布局 | 带有选项卡和小部件的自定义记录详情页 |
后续步骤
配置
应用标识、默认角色、安装钩子、公共资源。
数据
对象、字段和双向关系。
逻辑
逻辑函数、技能、智能体和 OAuth 连接。
布局
视图、导航、页面布局、前端组件。
操作
CLI、测试、远程、CI,以及发布你的应用。