ワークフローが重要な理由
Twentyはユーザーに最大限の柔軟性を提供するために作られました。 Twentyはユーザーに最大限の柔軟性を提供するために作られました。 ビジネスプロセスを堅苦しい既成の機能に適応させるのではなく、ワークフローは自動化を構築して、あなたの独自のビジネスユースケースを最大限にサポートするCRMを作成します。 ワークフローはこれらの自動化を作るためのTwentyのアプリケーション内機能です。 必要な時に必要なものを正確に作成するための構成要素を提供します。 必要な時に必要なものを正確に作成するための構成要素を提供します。 必要な時に必要なものを正確に作成するための構成要素を提供します。ワークフローで何ができますか?
主に2つの目的のために自動化を構築することをお勧めします。- チームの日常を効率化する社内自動化: 手動エントリーやチームの足を引っ張る反復作業を減らします。
- データの入出力をTwentyで行う: APIコールやWebhookを通じてデータベースや他のツールとTwentyを接続します。
最初のワークフローの作成
ステップ 1: 新しいワークフローを作成
- 他のオブジェクトの下にある Workflows に移動します
- 「+ New Record」をクリックします
- ワークフローに名前を付けます
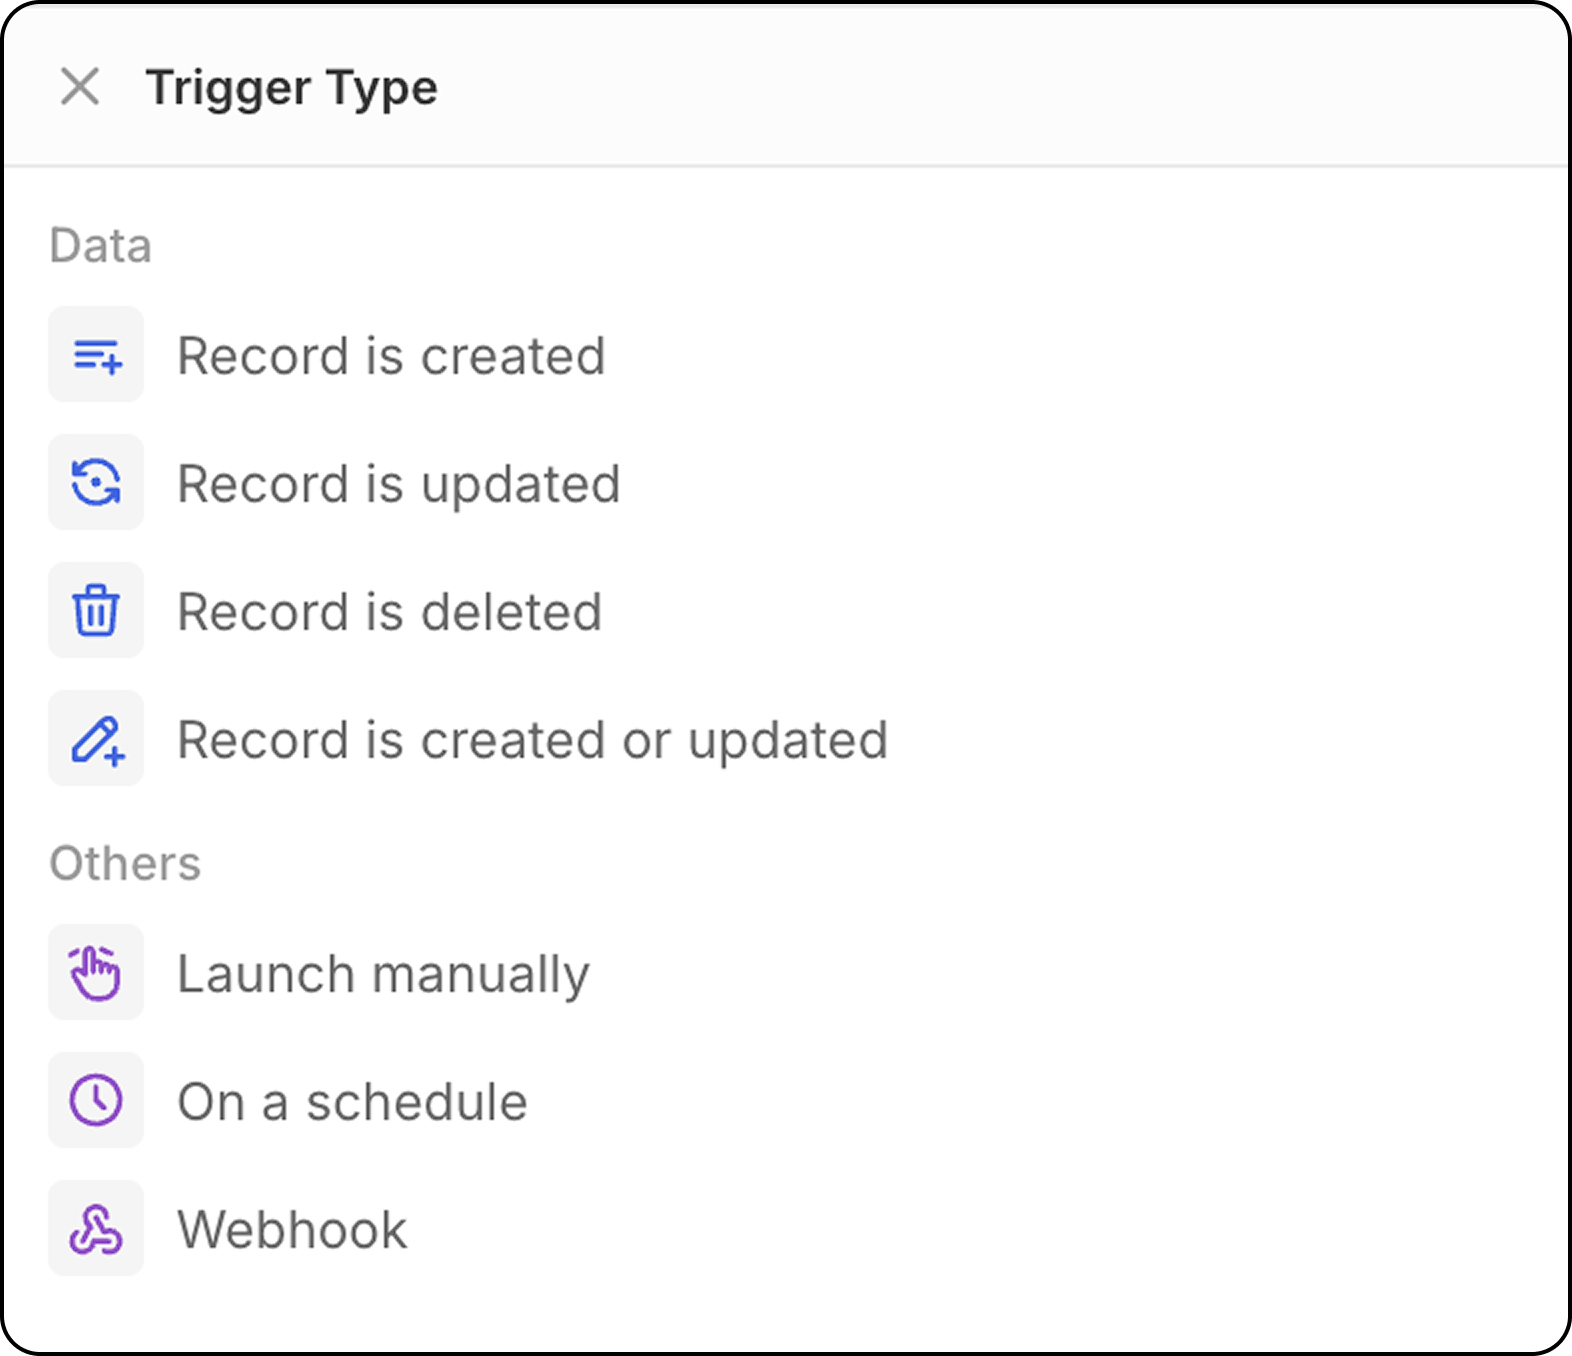
ステップ 2: トリガーを追加
すべてのワークフローはトリガーから始まります。 以下から選択します:- Record events: レコードが作成、更新、または削除されたとき
- Schedule: 指定した時間に実行(毎日、毎週など)
- Manual: ユーザー操作によってトリガーされます
- Webhook: Webhook によってトリガーされます
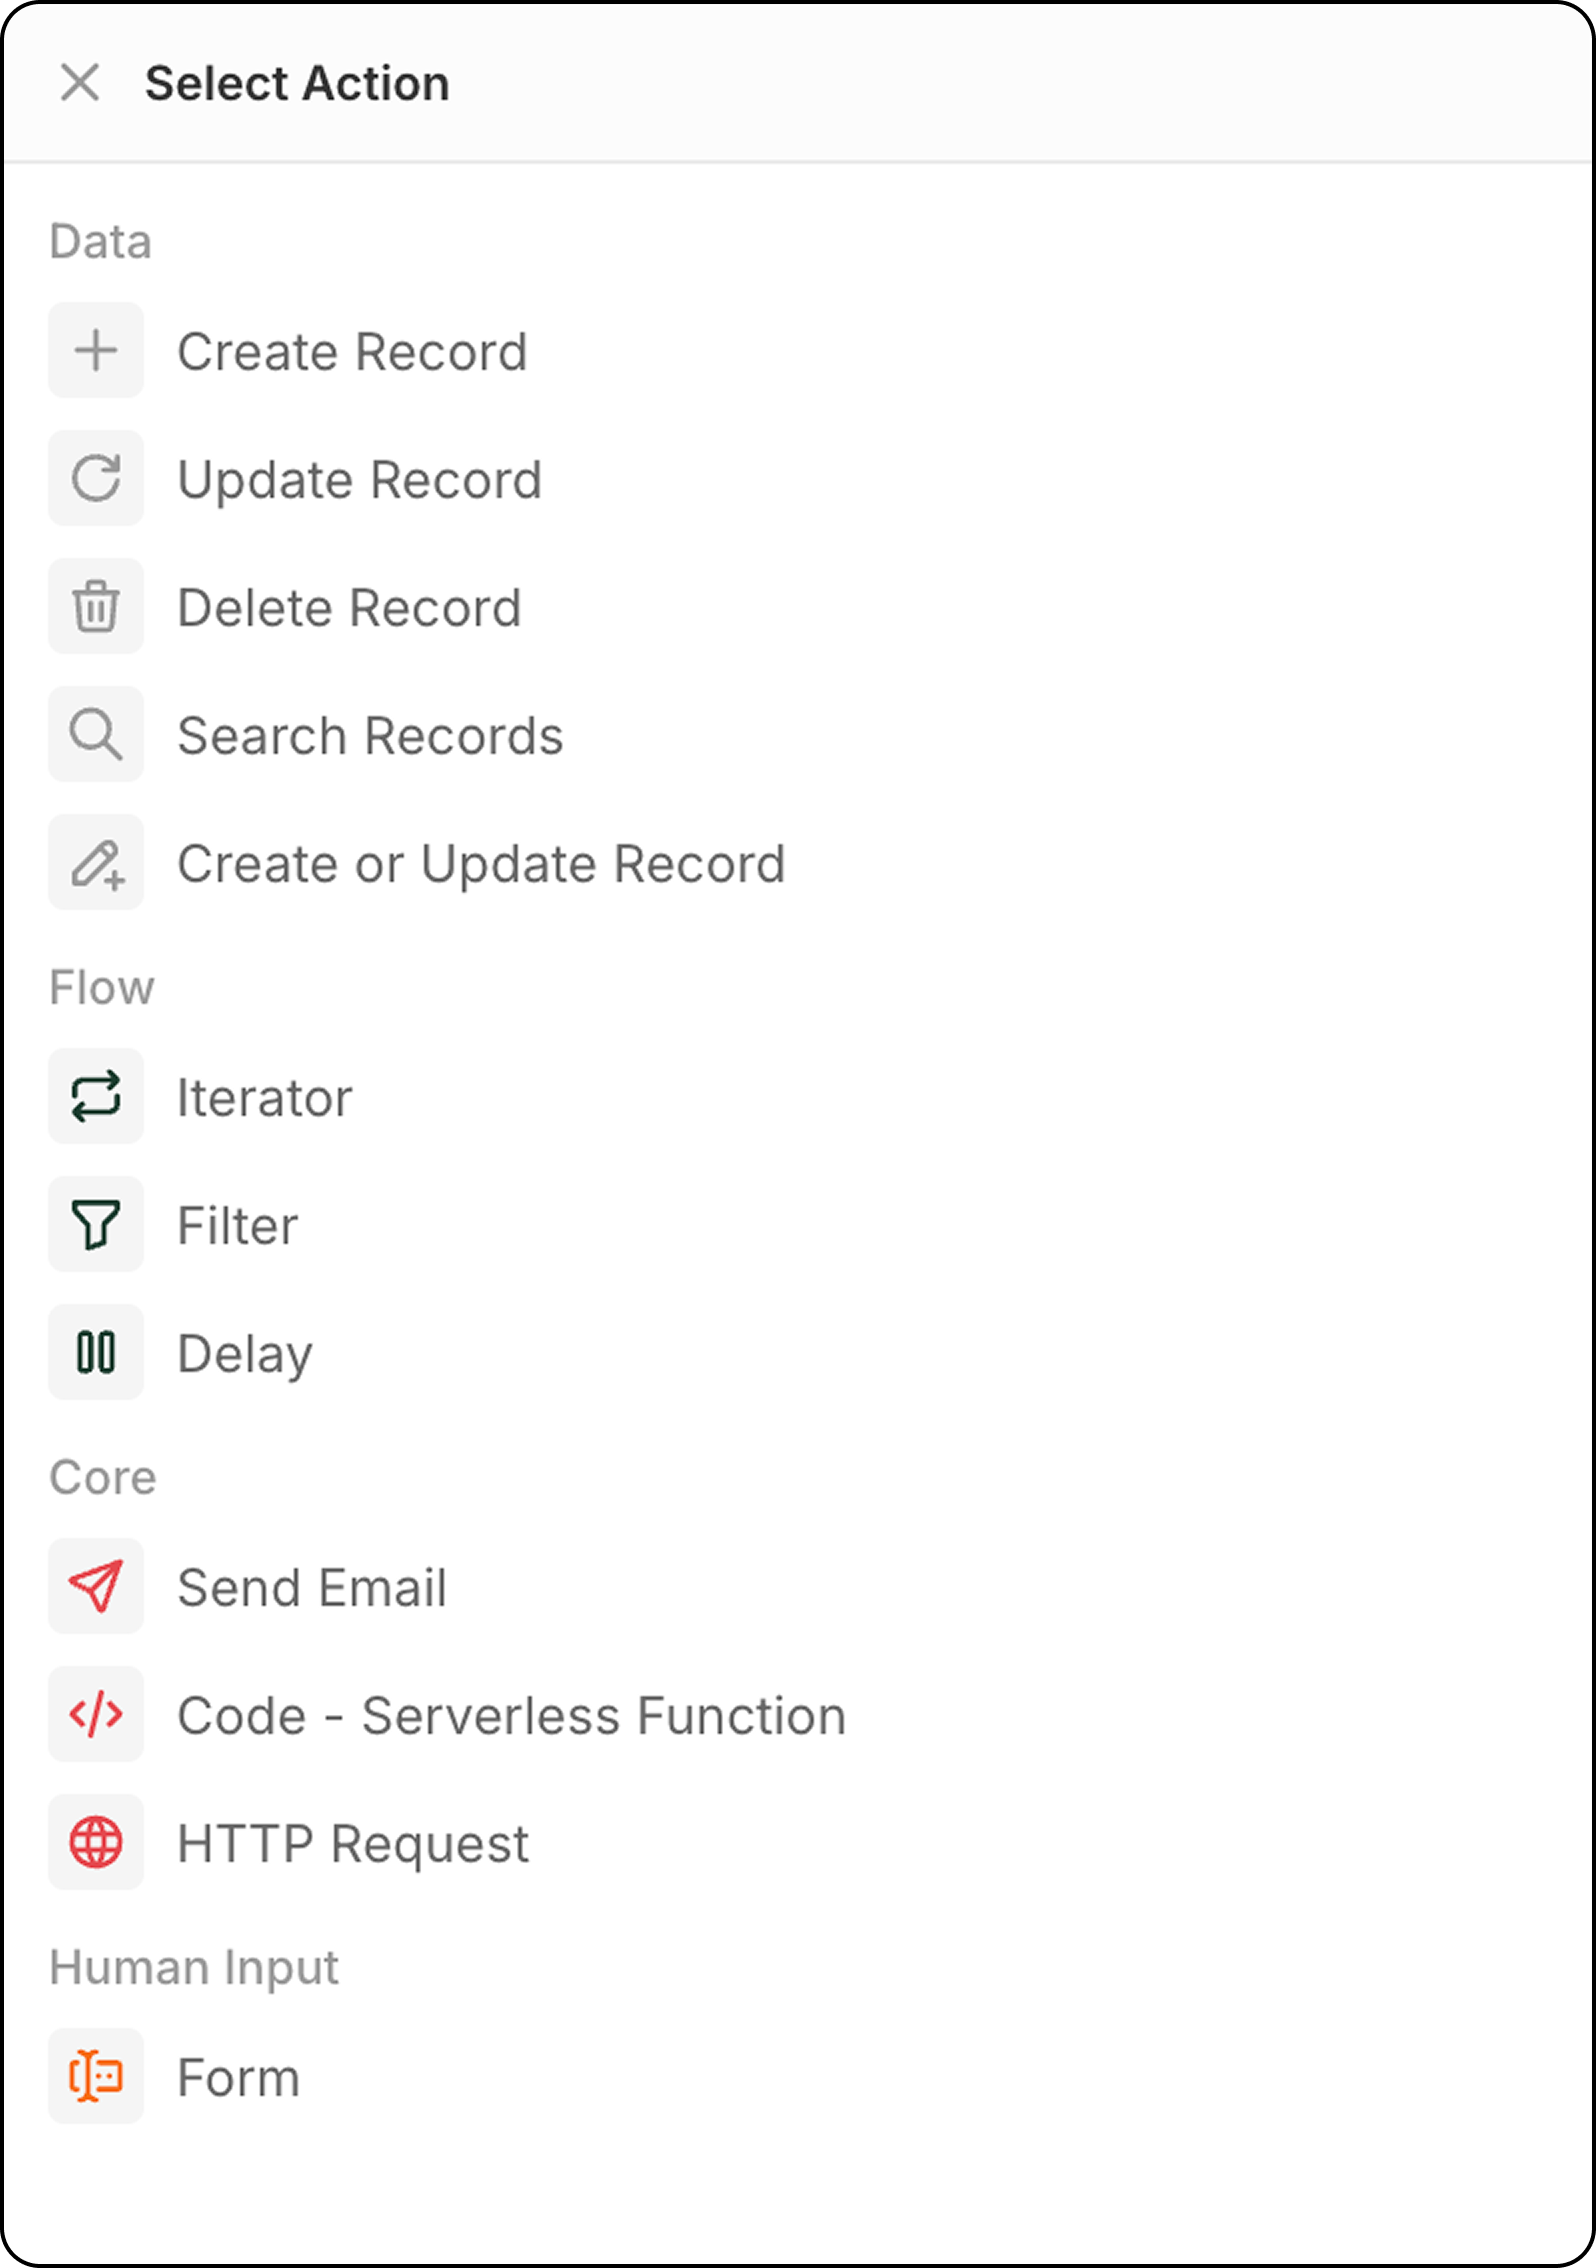
ステップ 3: アクションを追加
トリガーの後に、1 つ以上のアクションを追加します:- Create Record: 任意のオブジェクトに新しいレコードを追加
- Update Record: 既存のレコードデータを変更
- Delete Record: オブジェクトからレコードを削除
- Search Records: 条件に一致するレコードを見つける
- Upsert Record: 一致する条件に基づいて作成または更新する
- Iterator: レコードの配列をループ処理する
- Filter: 次に進むレコードを制御する
- Delay: 続行する前に待機する(期間または指定日時)
- Send Email: 接続済みアカウント経由でメールを送信する
- Code: カスタム JavaScript を実行する
- HTTP Request: 外部 API を呼び出す
- Form: 実行時に Twenty の UI でユーザーから入力を取得する
- AI Agent(近日公開): インテリジェントな AI タスクを実行する
ステップ 4: テストして有効化
- Test ボタンを使って、サンプルデータでワークフローを実行します
- 結果を確認し、期待どおりに動作することを確かめます
- 準備ができたら、ワークフローを Active に切り替えます
ワークフローのベストプラクティス
- ステップ名を編集する:各ステップが何をするかを明確に記述するためにワークフローのステップ名を変更します。 これはメンテナンスに役立ち、同僚への引き継ぎが容易になります。 これはメンテナンスに役立ち、同僚への引き継ぎが容易になります。 これはメンテナンスに役立ち、同僚への引き継ぎが容易になります。
- 前のステップのデータを活用する:ワークフローの前の任意のステップによって返されたレコードのフィールドを使用できます。
- 簡単に始める:基本的なワークフローから始め、システムに慣れるにつれて複雑さを増していきます。
- 構築する前に計画する:途中で行き詰まらないように、ワークフローロジックを最初に計画します。