O Layout Principal
O centro da tela é onde seus registros estão: pessoas, empresas, oportunidades, tarefas, notas, painéis, fluxos de trabalho e qualquer outro objeto que você criou. É aqui que o trabalho diário acontece. Você pode visualizar, editar, excluir registros a partir daqui, bem como criar novas visualizações.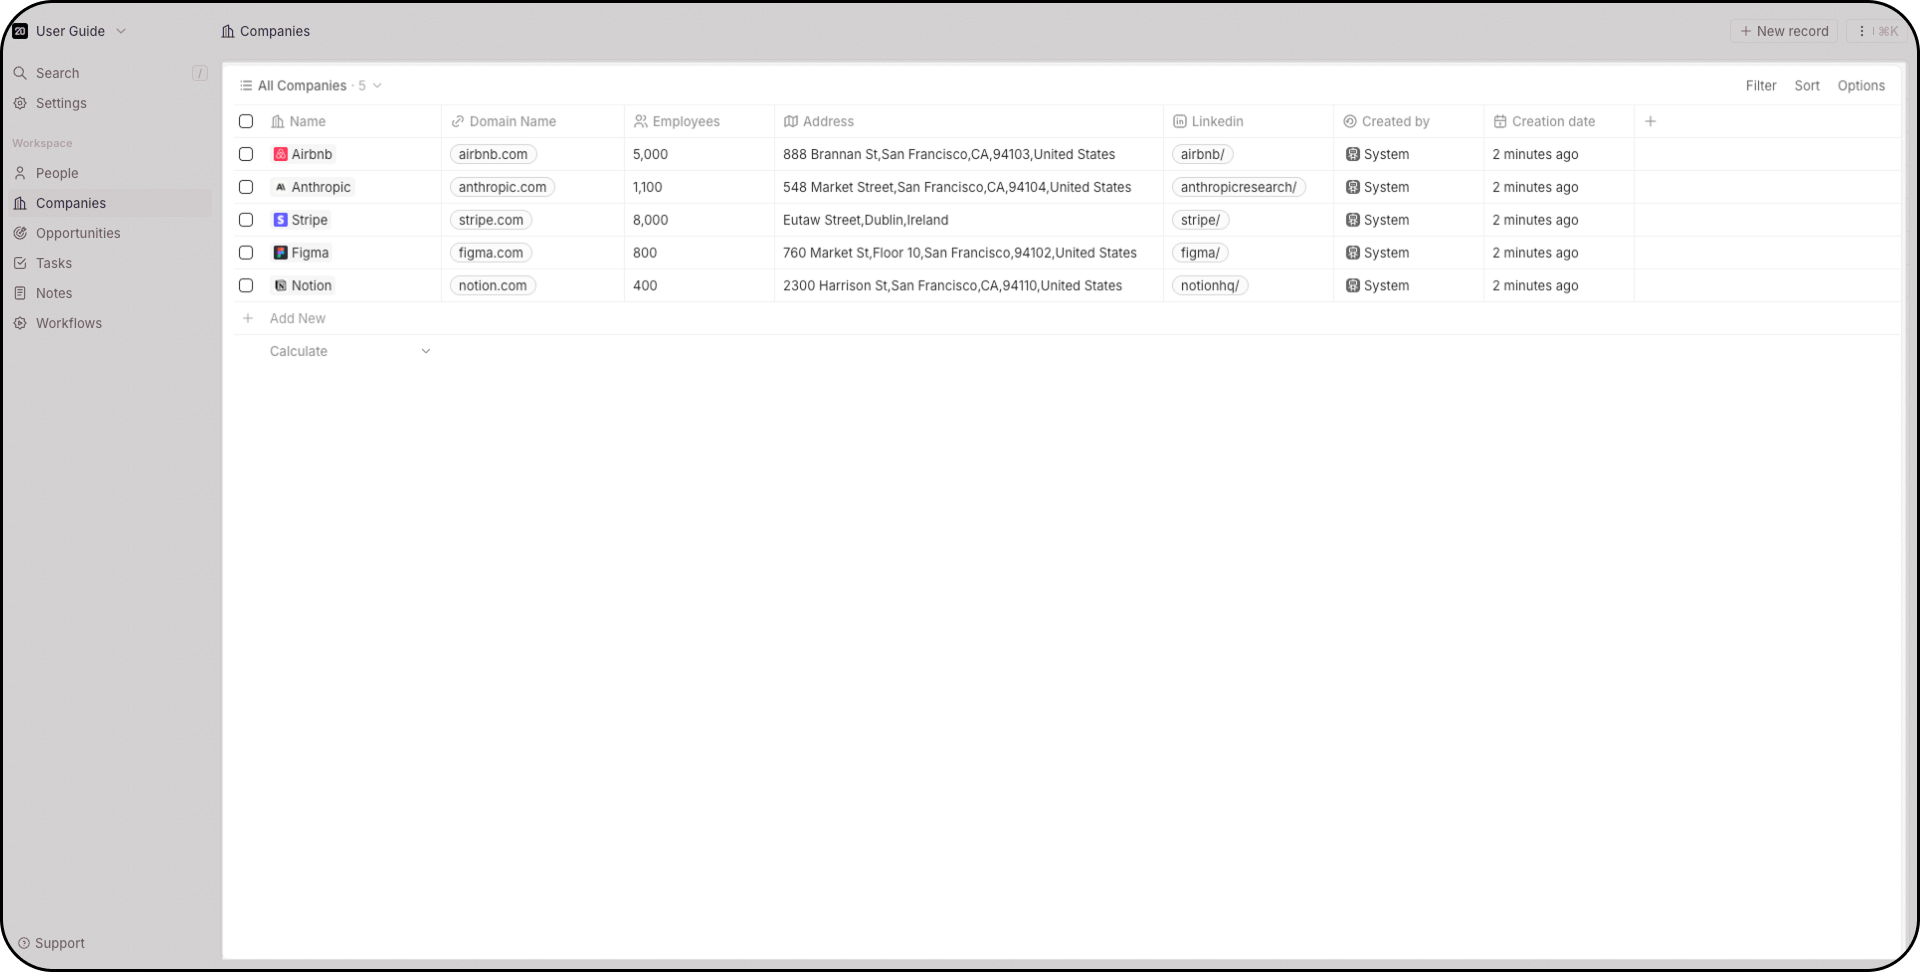
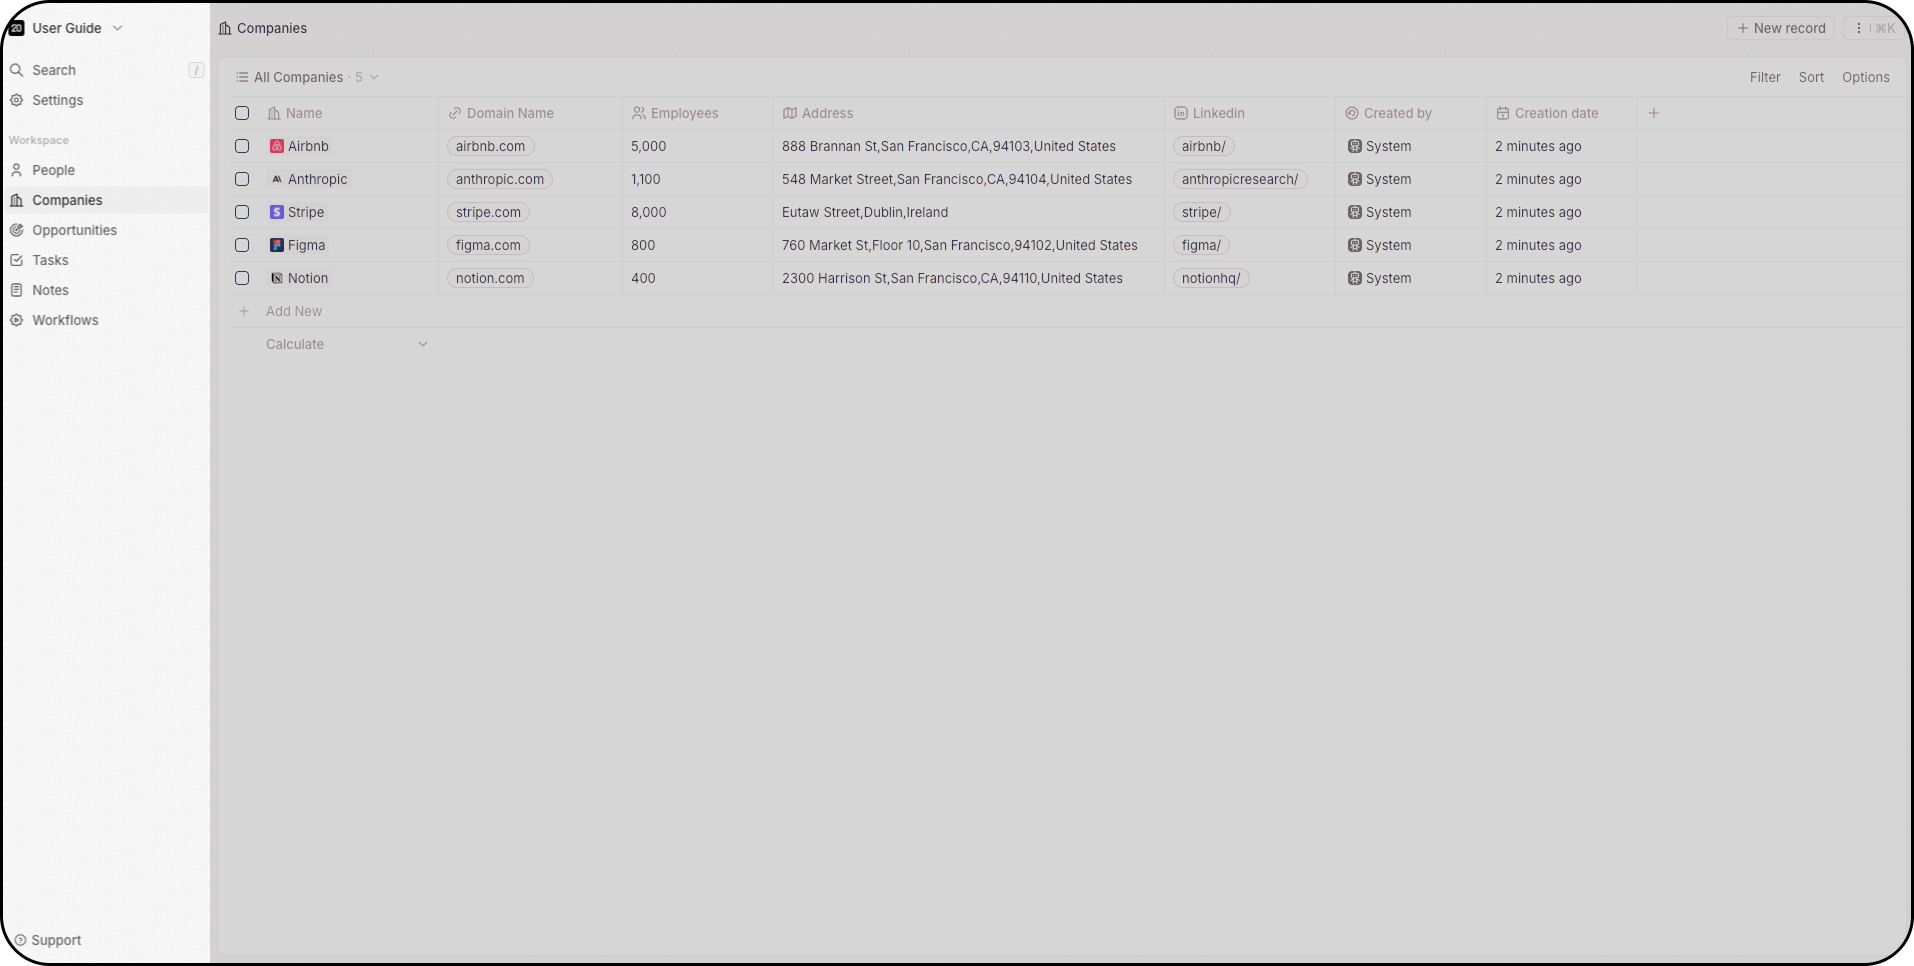
Barra de Navegação
Do lado esquerdo, de cima para baixo, você poderá:- Alternar entre seus diversos espaços de trabalho usando o menu suspenso ou criar um novo espaço de trabalho
- Usar a barra de pesquisa (pressionar
/para focar nela instantaneamente) - Abrir a seção de Configurações
- Ter acesso direto às suas visualizações favoritas. Favoritos são exclusivos para cada usuário.
- Alternar entre diferentes objetos
- Criar automações usando fluxos de trabalho
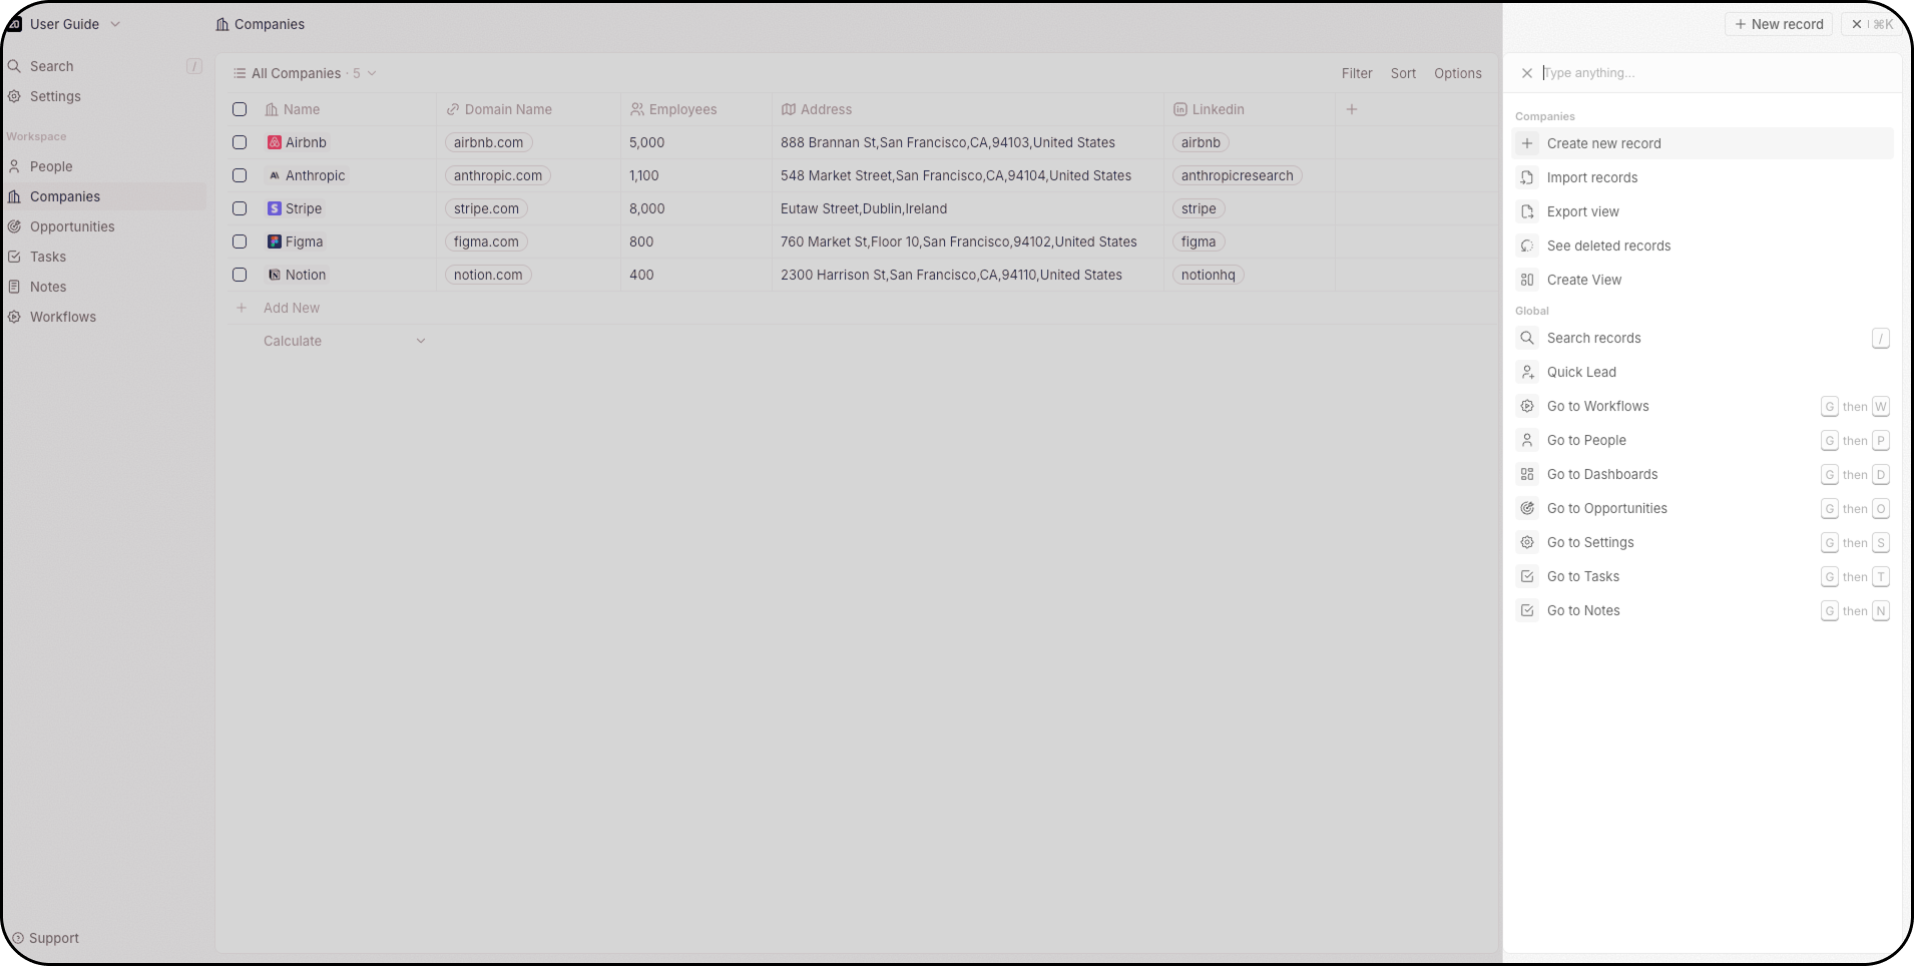
Menu de Comandos
O menu de comandos oferece acesso rápido a ações no Twenty. Você pode acessá-lo de duas maneiras:- Atalho de teclado: Pressione
Cmd + K(Mac) ouCtrl + K(Windows) - Mouse: Clique nos três pontos no canto superior direito A partir daí, você pode:
- Criar novos registros
- Importar e exportar dados via csv
- Criar novas visualizações
- Acessar registros excluídos (Twenty dá suporte a exclusões lógicas e permanentes)
- Ver os atalhos de teclado para acessar rapidamente objetos no seu espaço de trabalho
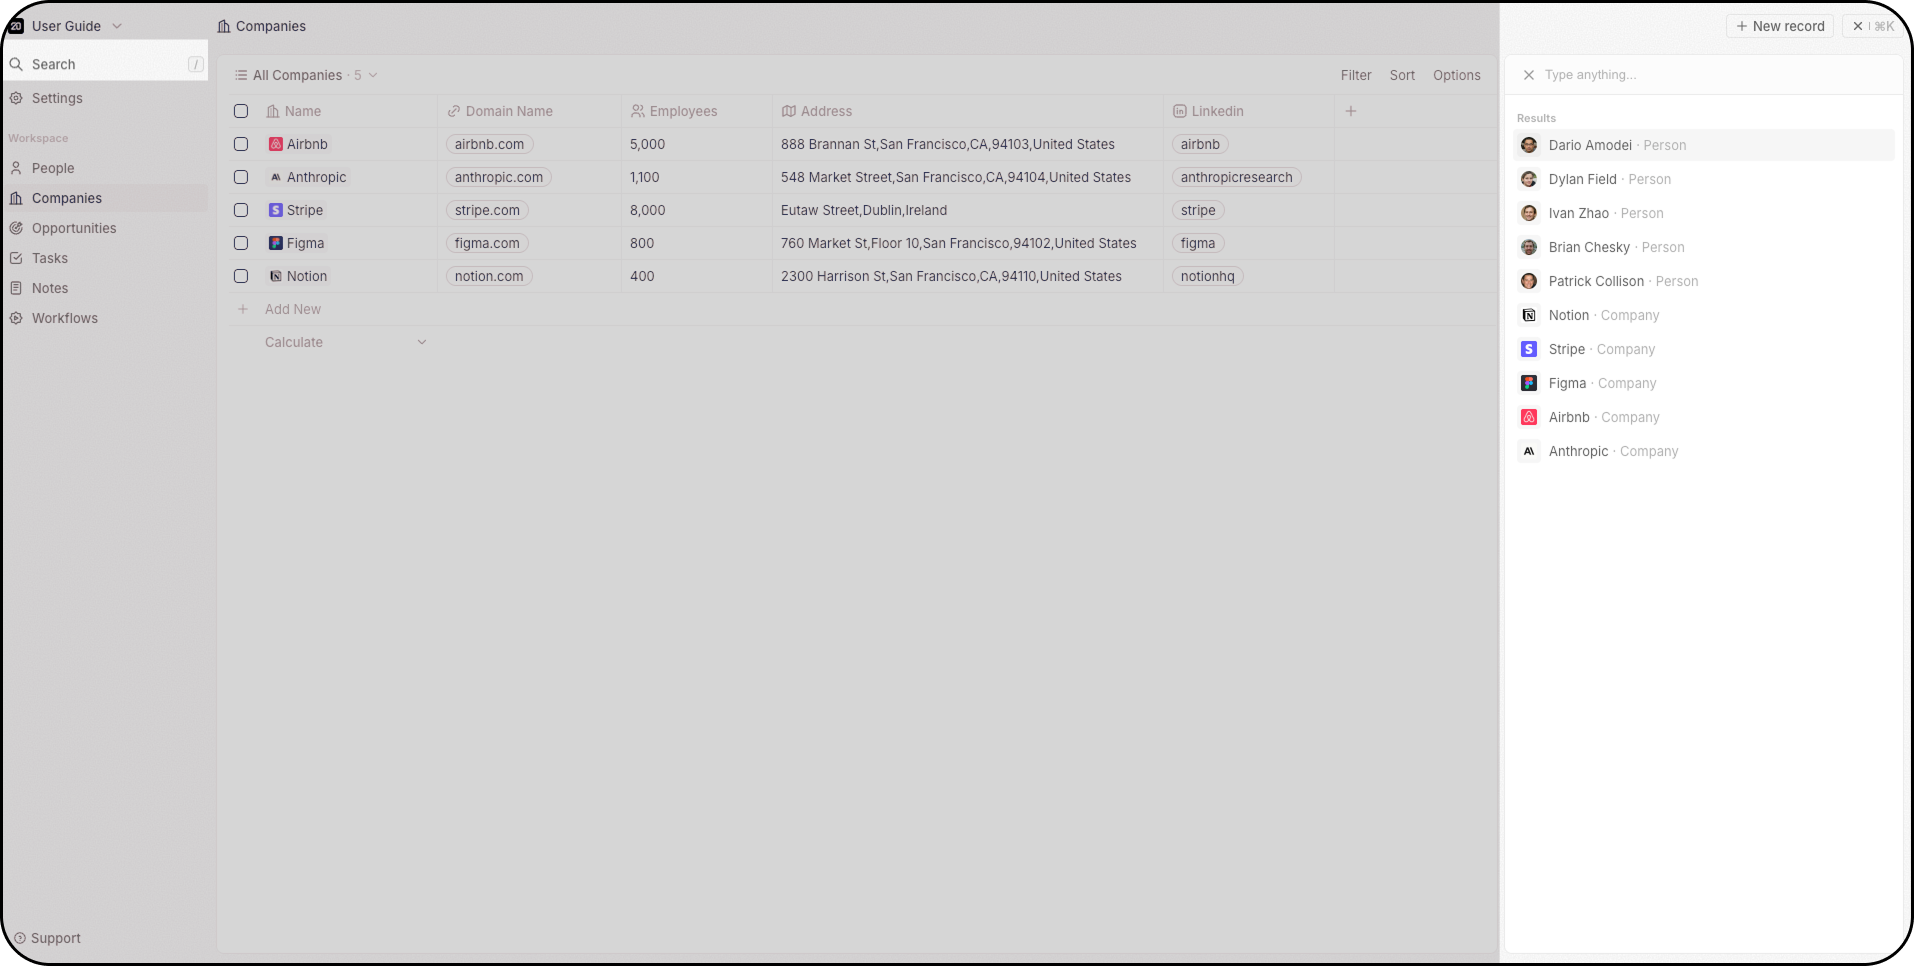
Barra de Pesquisa
+A barra de pesquisa é acessível pelo Menu de Comandos, no topo da sua barra de navegação, ou pressionando/ para focar nela instantaneamente. A pesquisa funciona em todos os objetos.
Painel Lateral
Quando você clica em um registro, o painel lateral aparece à direita. Isso oferece uma visão geral rápida das informações principais do registro, sem levá-lo a outra página. A partir daí, você pode decidir fechar essa visão geral ou obter informações adicionais sobre esse registro, clicando no botão Abrir.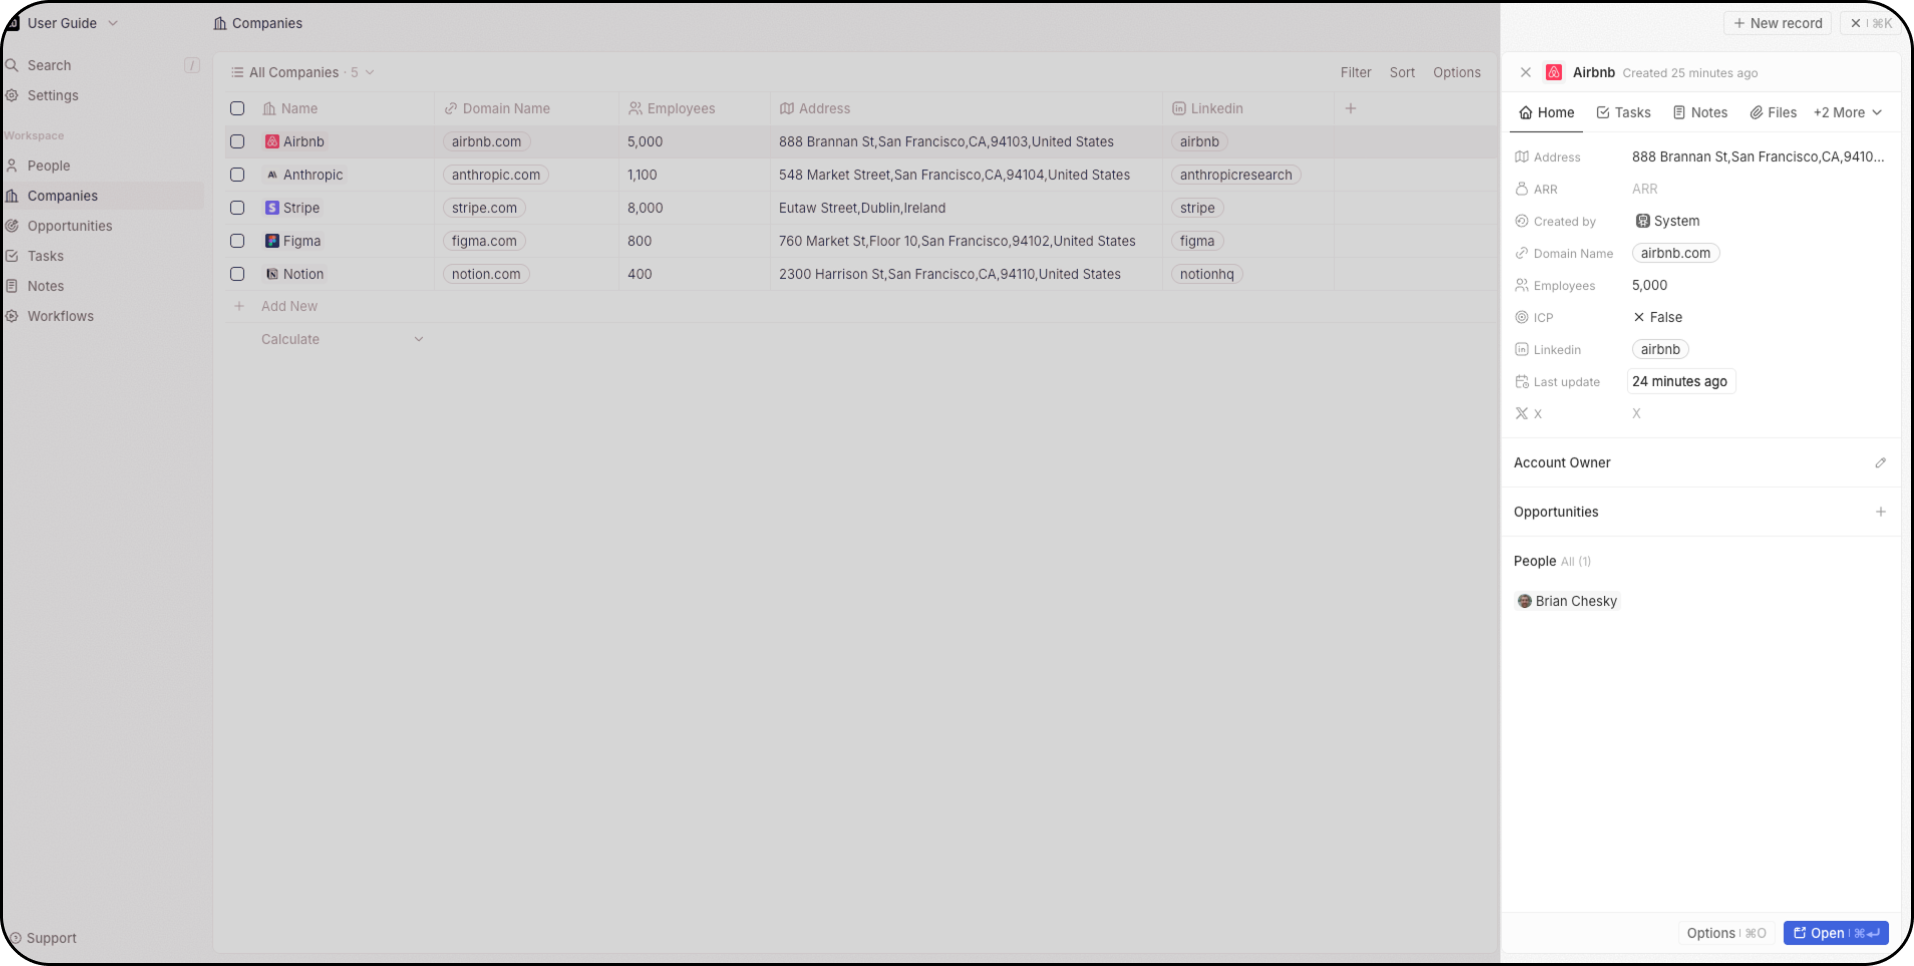
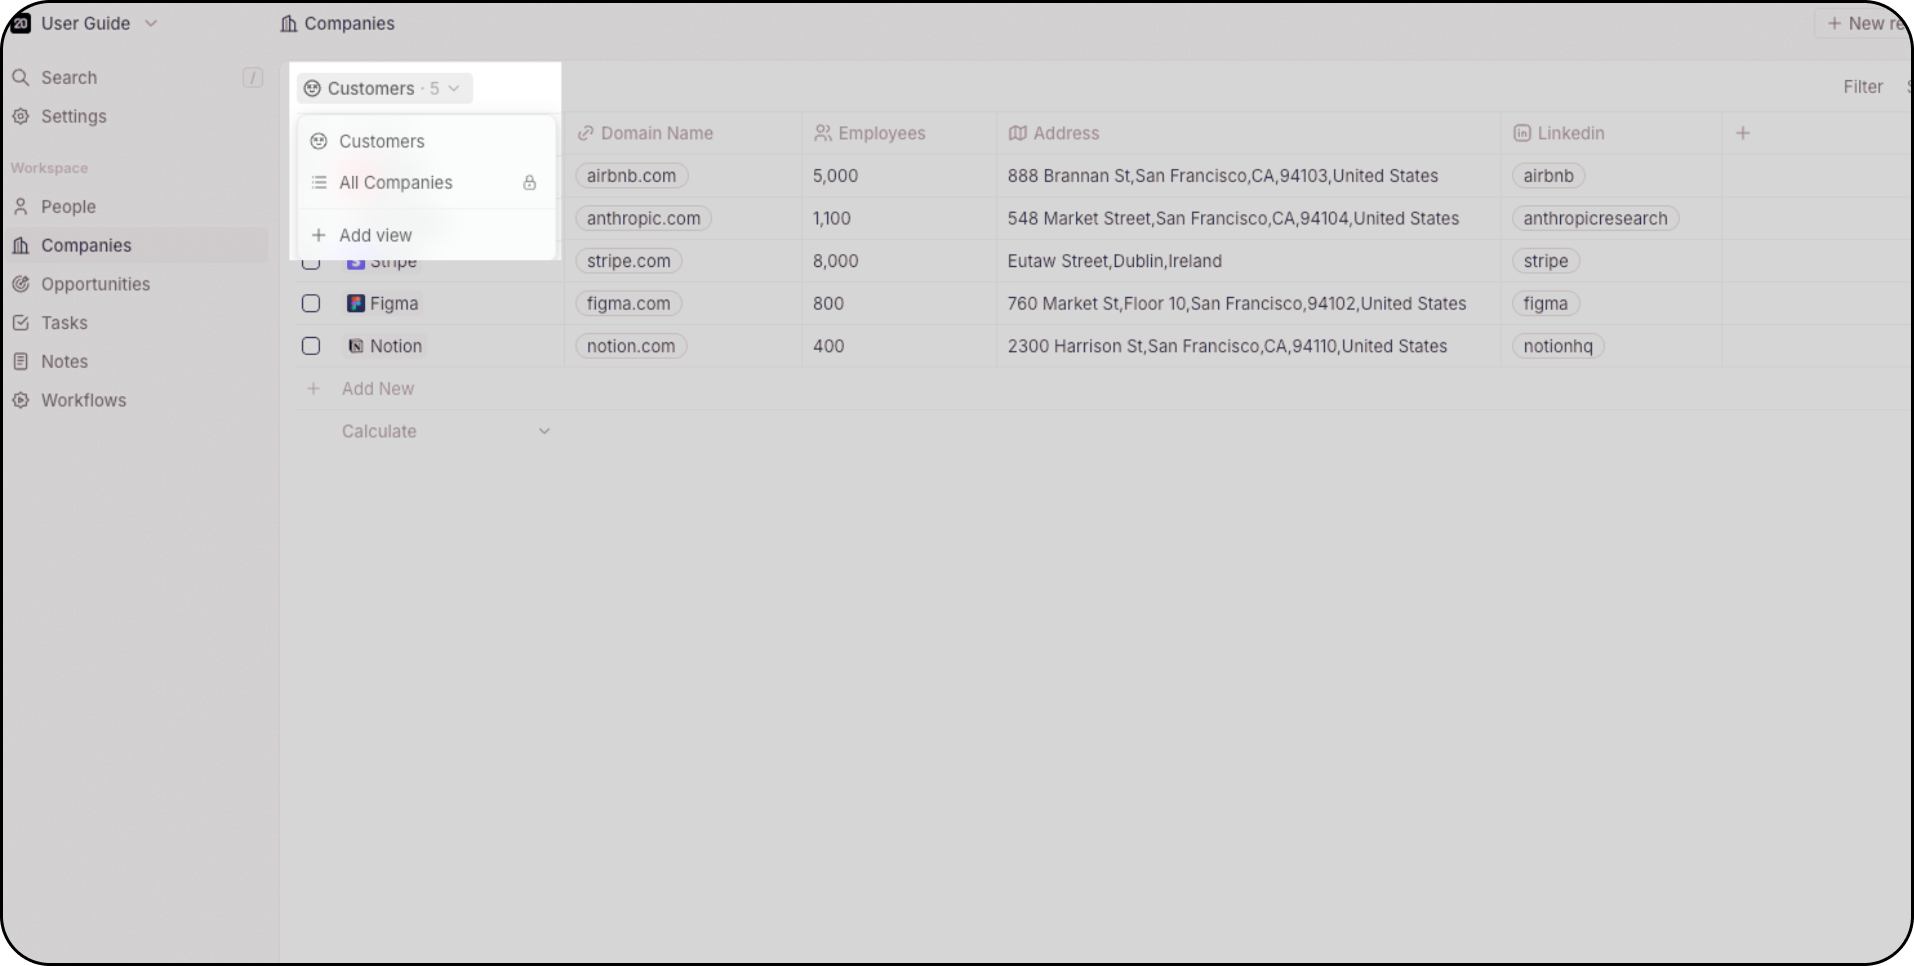
Visualizações
Todos os objetos (como Oportunidades ou Pessoas) suportam várias visualizações. Você não está limitado no número de visualizações por objeto. Use o menu suspenso no canto superior esquerdo do layout principal para alternar entre as diferentes visualizações. Por exemplo:- Usar uma visualização Kanban para rastrear oportunidades por estágio
- Usar a visualização Agrupar Por para criar seções e melhorar a eficiência
- Use filtros para focar em registros específicos (por exemplo, leads criados na semana passada)
- Salvar visualizações filtradas para reutilizá-las mais tarde
- Marcar visualizações como favoritas para acesso rápido
Configurações
Abra suas Configurações no canto superior esquerdo para:- Conectar suas contas de e-mail e calendário para sincronização fluida de e-mails e calendários
- Personalizar seu modelo de dados: criar objetos personalizados, campos e relações
- Acessar o playground da API e configurar webhooks
- Gerenciar permissões de usuário e controles de acesso ao espaço de trabalho
- Convidar membros da equipe e gerenciar funções dos usuários
- Editar seu perfil e preferências do espaço de trabalho
- Configurar faturamento e monitorar o uso de créditos de fluxo de trabalho
- Descubra e ative recursos futuros (em Atualizações → Acesso Antecipado)
- Acesse o Suporte para entrar em contato via chat ao vivo
- Abra a Documentação para navegar pelo Guia do Usuário e pela documentação para desenvolvedores
Se você não ver todas essas seções nas Configurações, entre em contato com o administrador do seu espaço de trabalho - algumas delas têm acesso restrito.