
contact@yourcompany.com. Mail sent to that address has to reach Twenty somehow. You do that by forwarding the mailbox to the private address Twenty gives you.
Setup has two halves: create the channel in Twenty, then point Microsoft at it.
Part 1: Create the channel in Twenty
- Go to Settings → Communication.
- Click Add email channel.
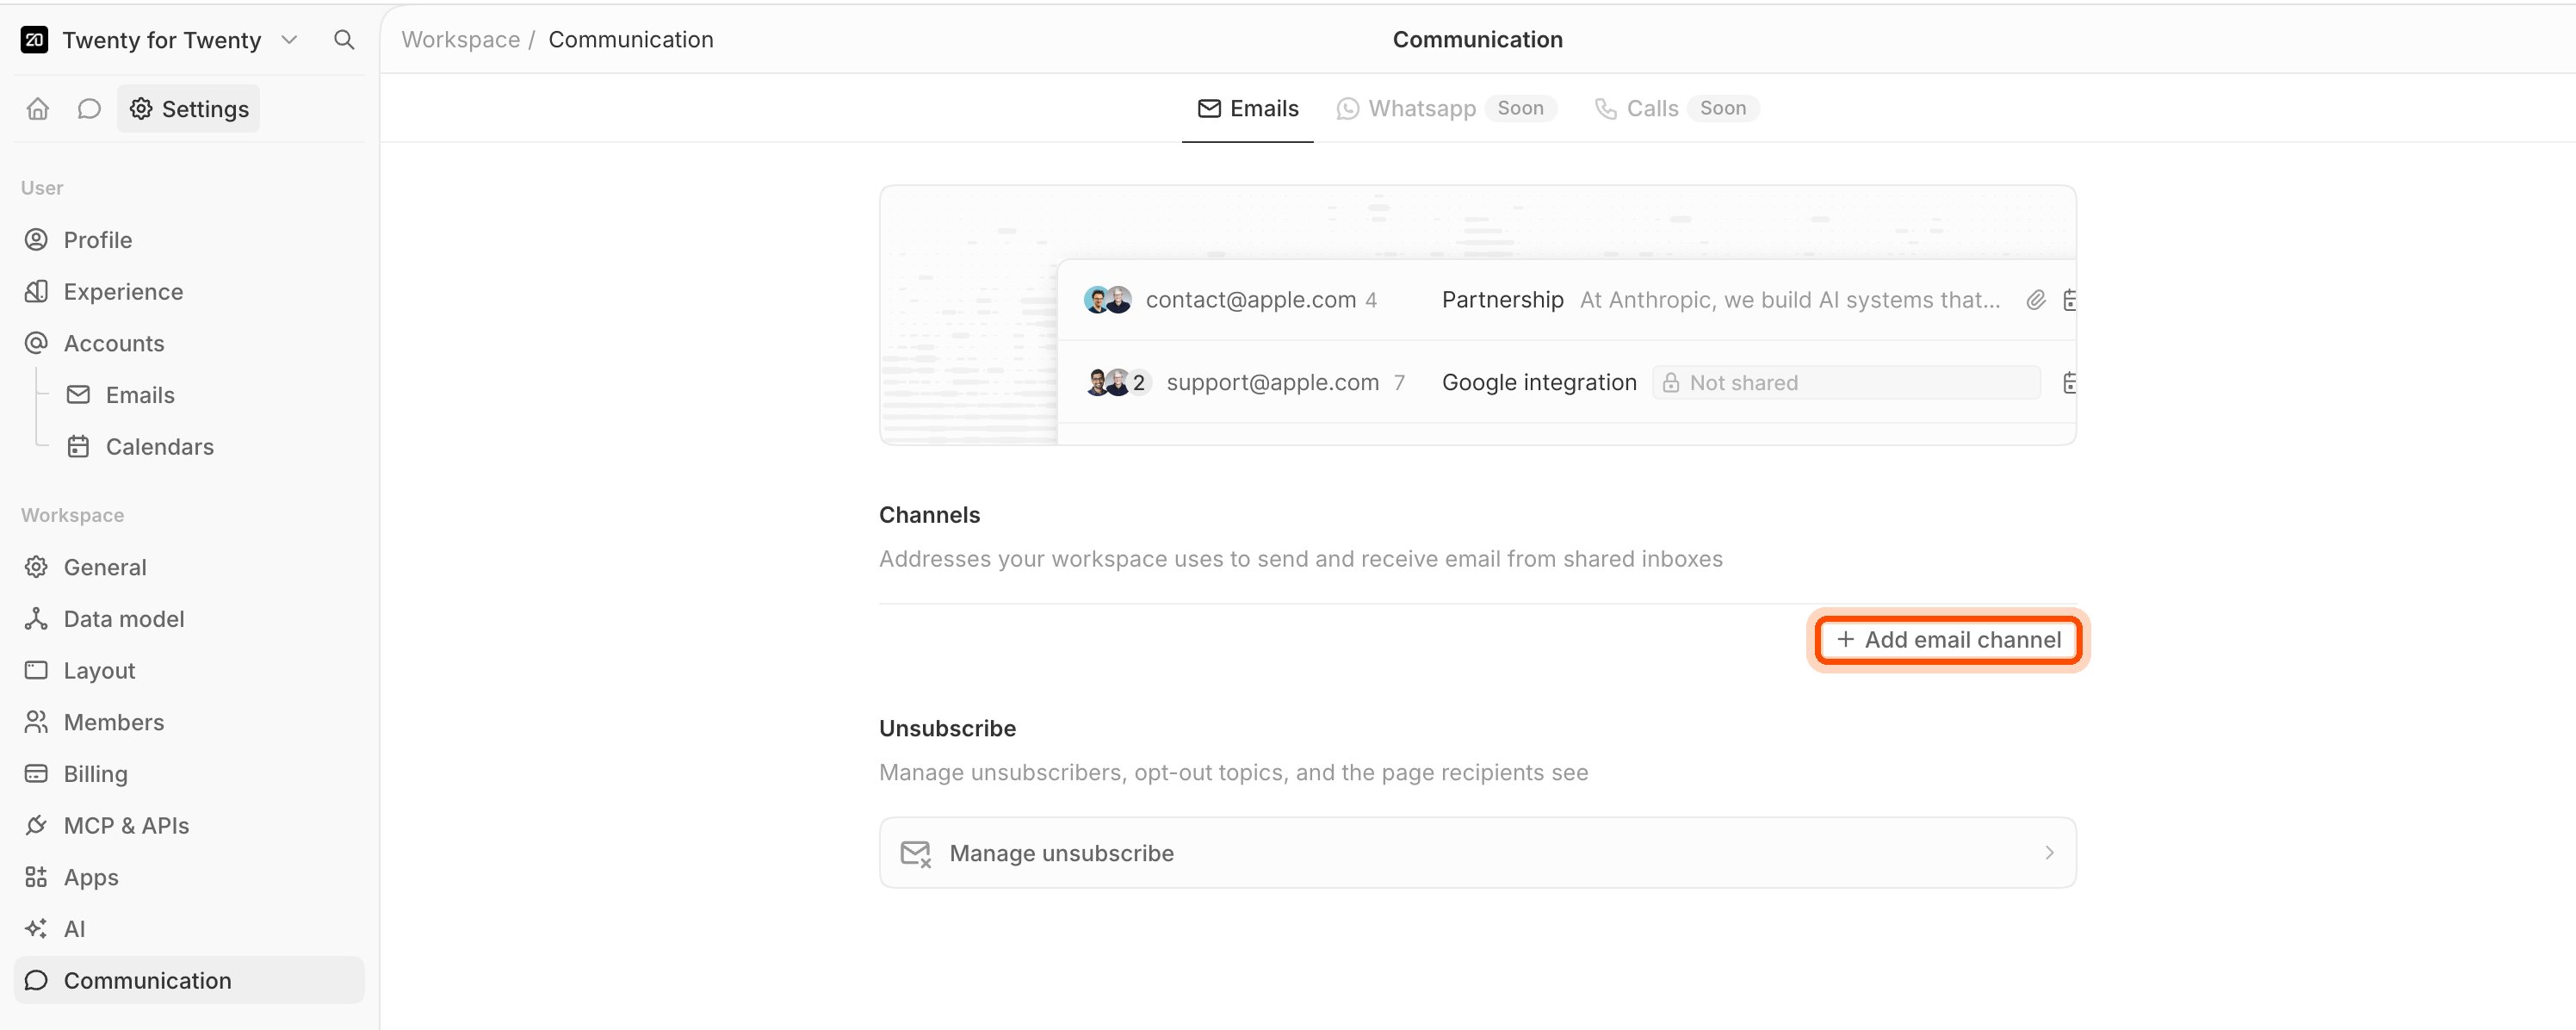
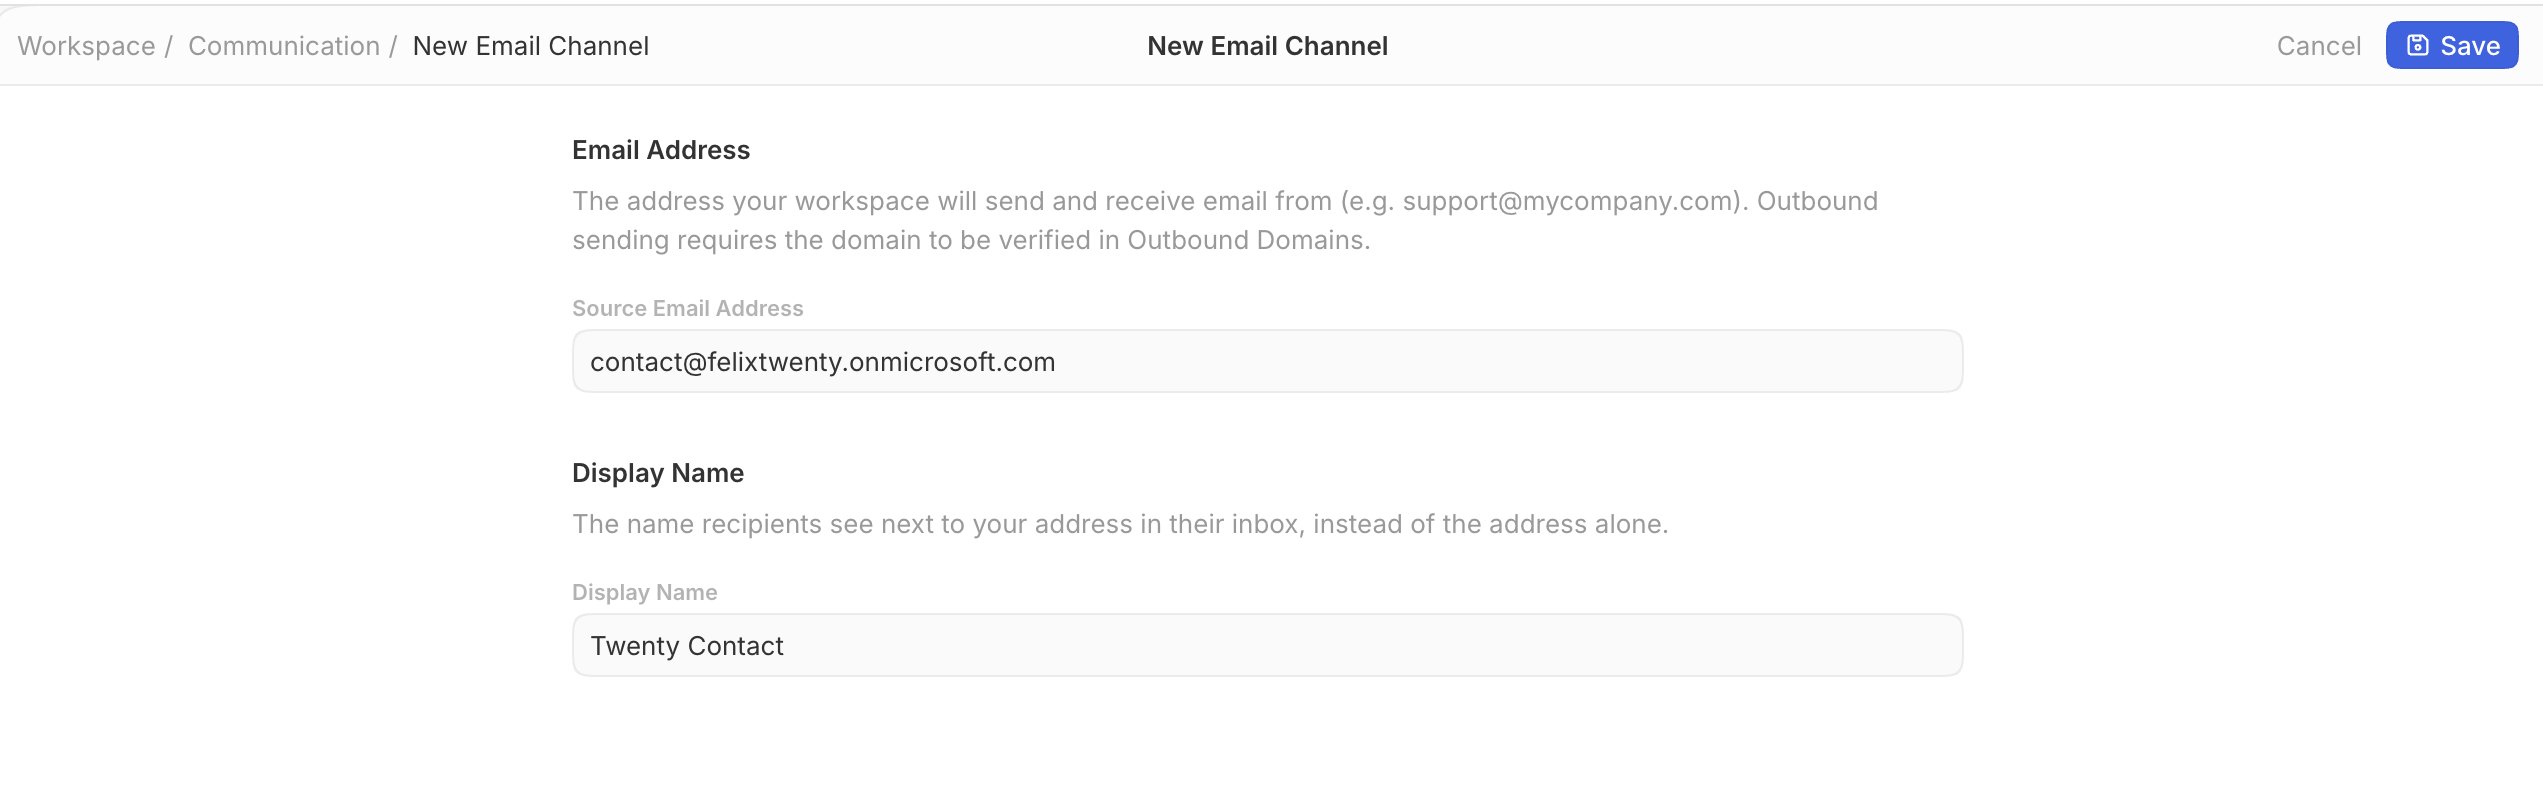
- In Source Email Address, type the shared address you want to receive mail at, for example
contact@yourcompany.com. - In Display Name, type the name recipients see, for example
Twenty Contact. - Click Save.
- Twenty now shows a Forwarding address. It looks like
ch_2cd282d193b5@inbound.twenty.com. Click Copy.
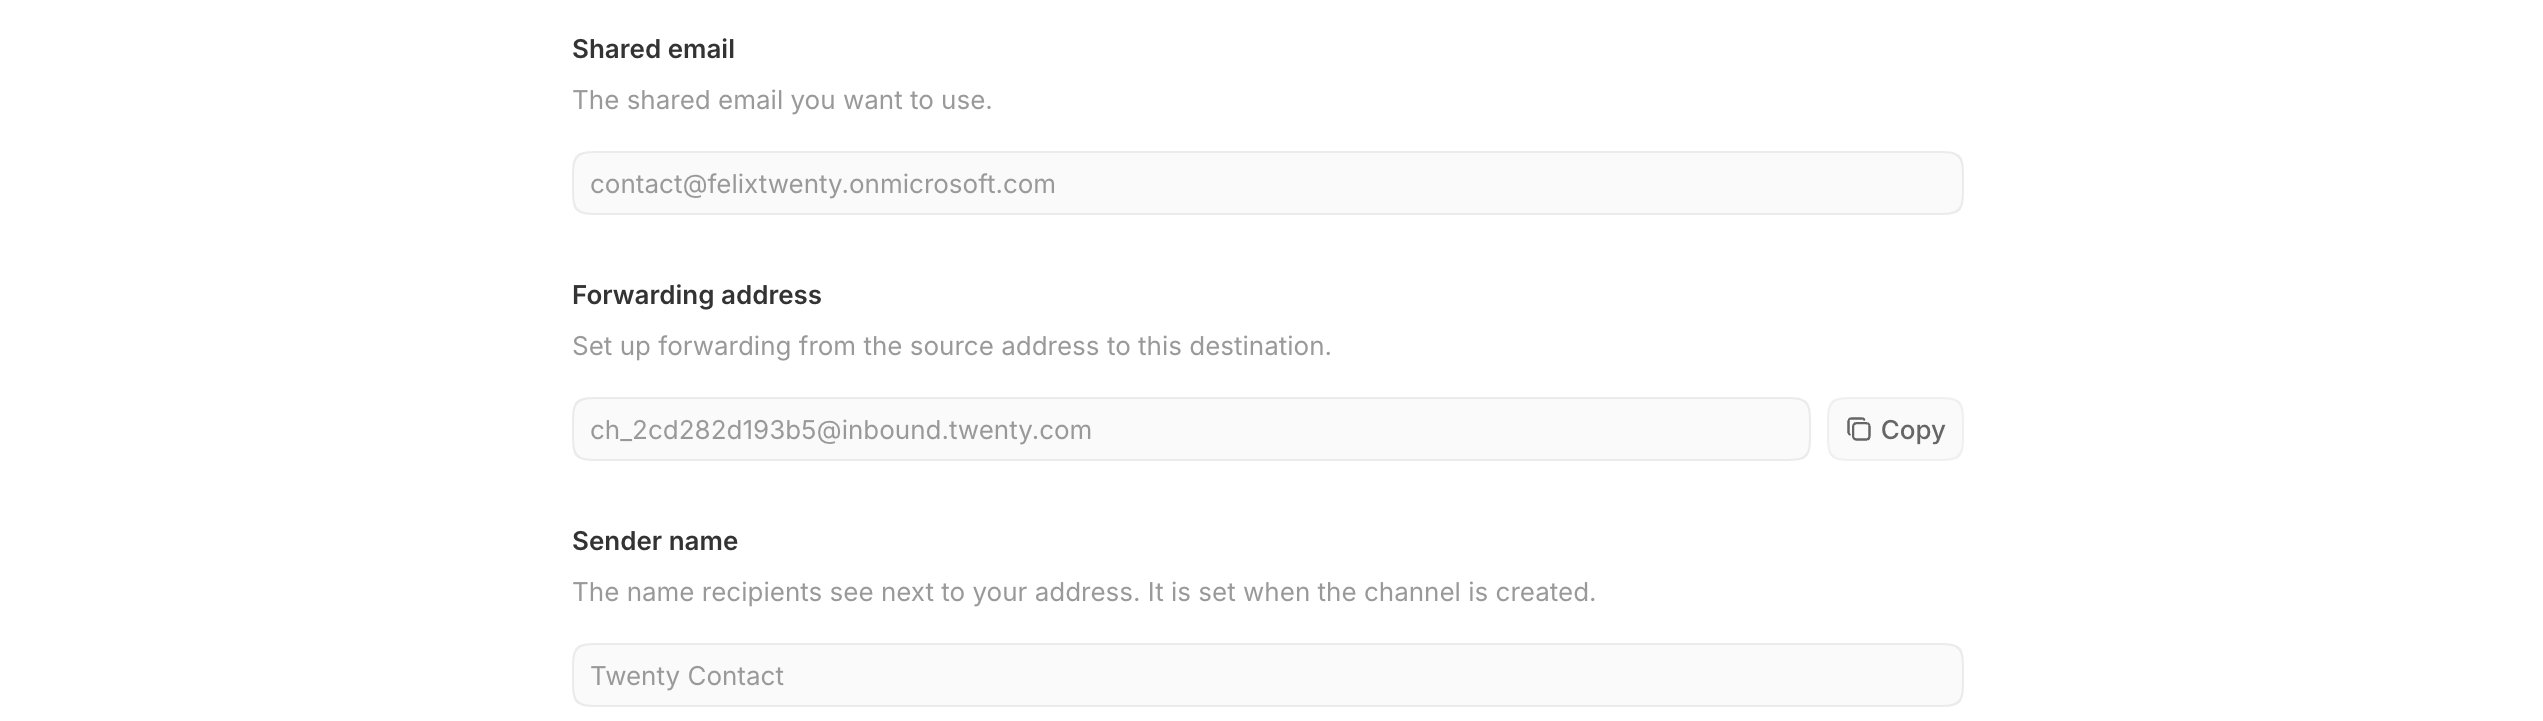
Each channel gets its own forwarding address. Never point two mailboxes at the
same one, or their mail will land in the same place.
Part 2: Create the shared mailbox
Skip this part ifcontact@yourcompany.com already exists in Microsoft 365.
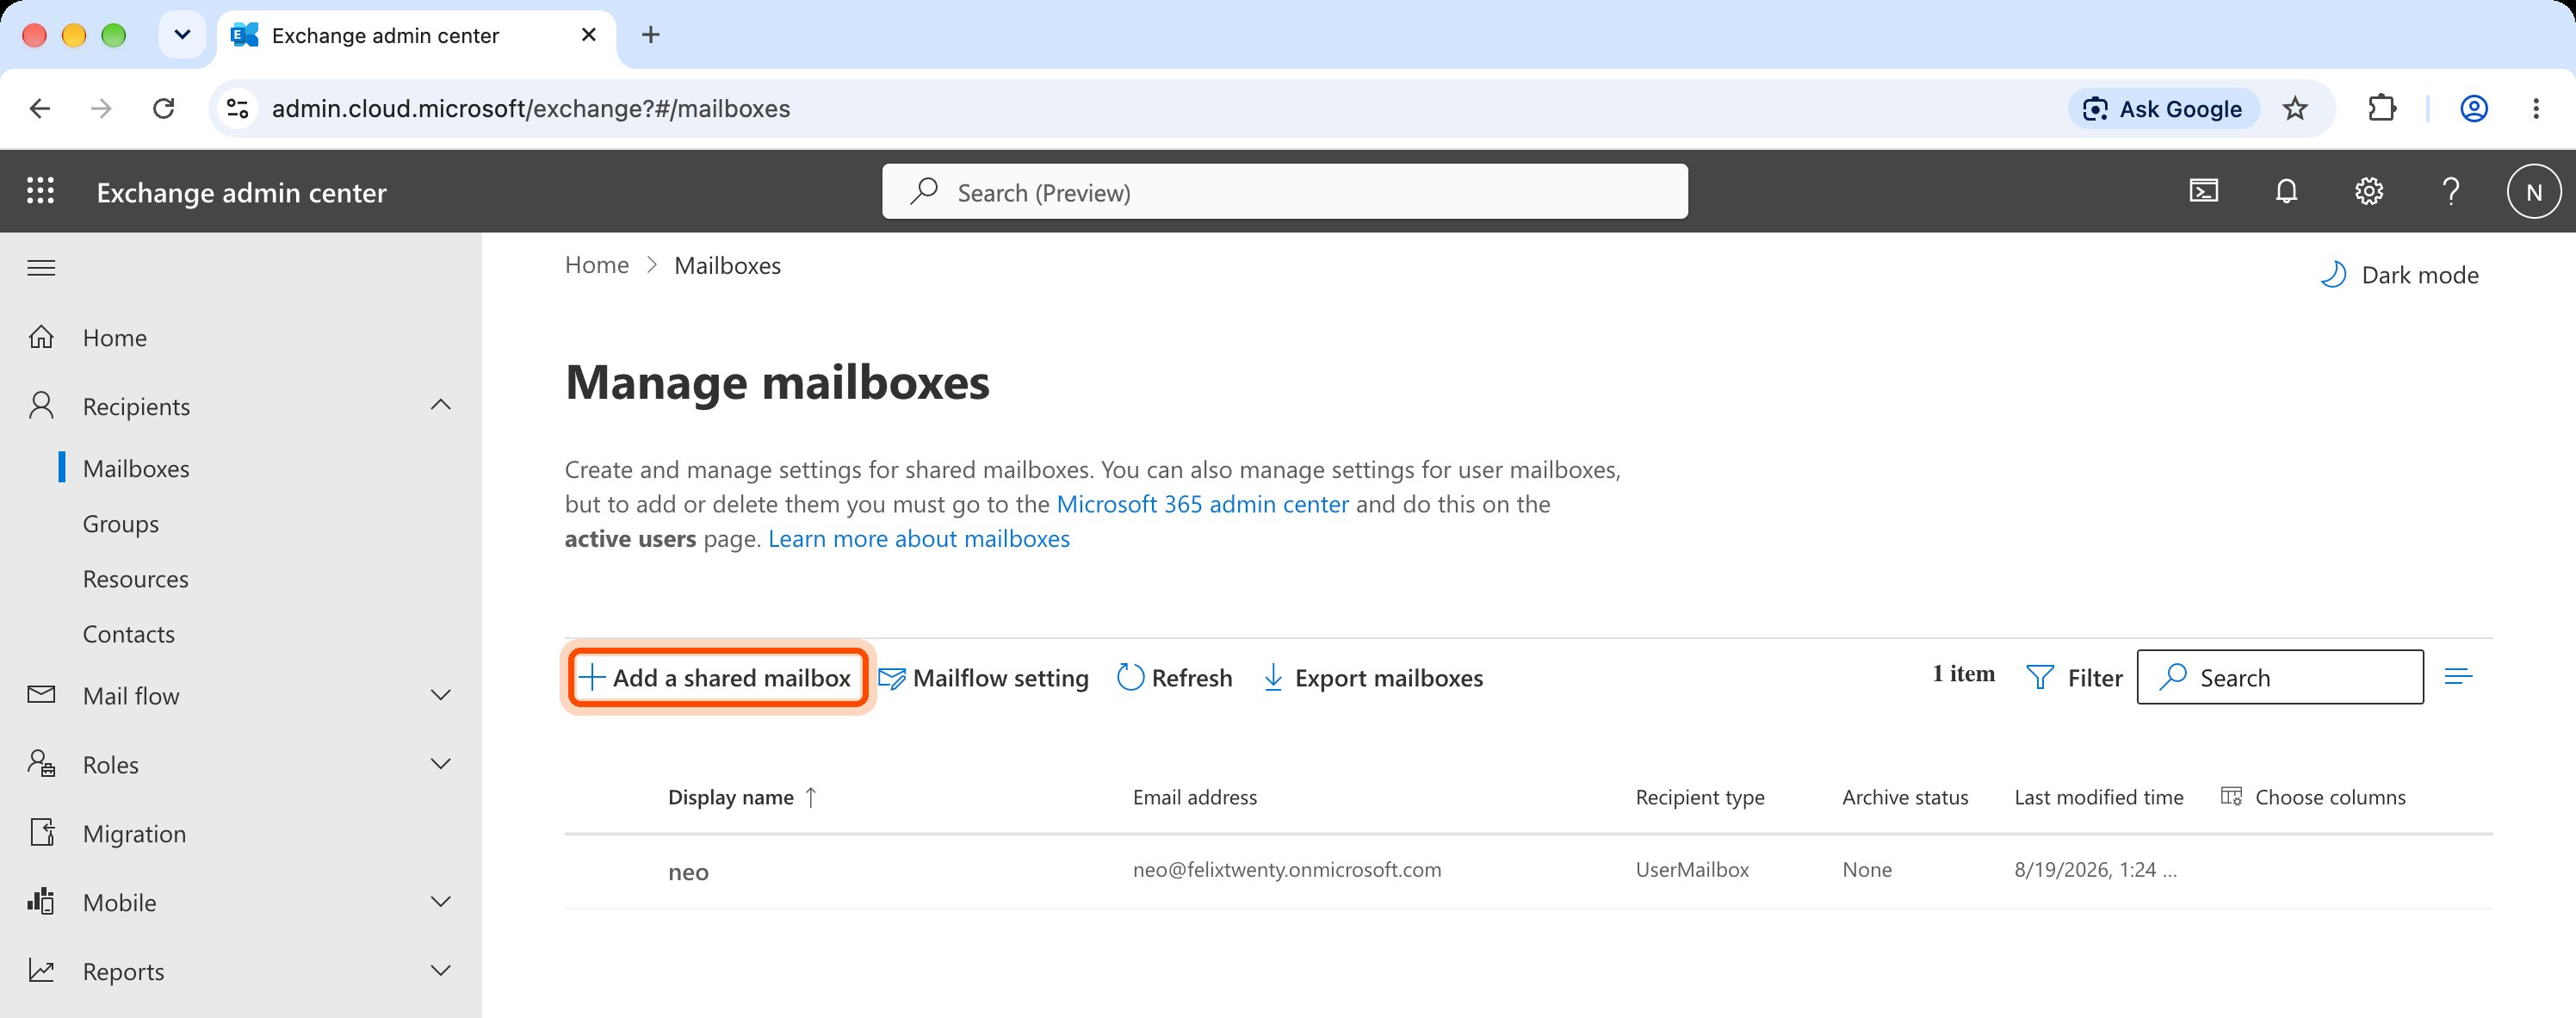
- Open the Exchange admin center.
- Go to Recipients → Mailboxes.
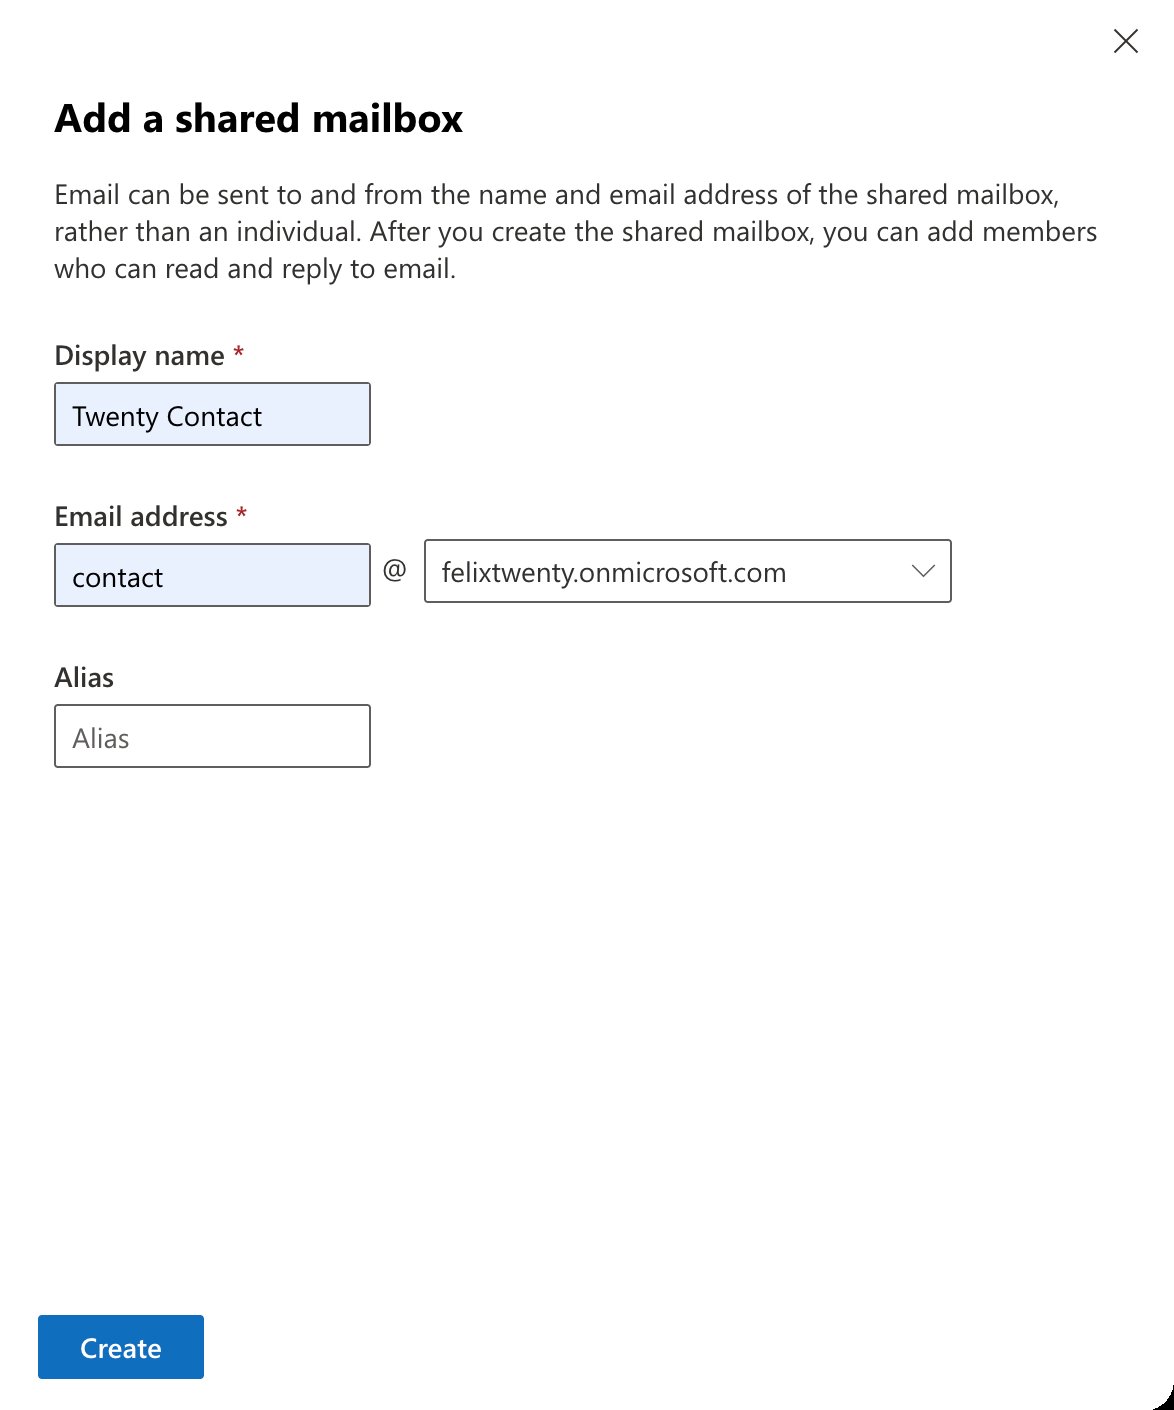
- Click Add a shared mailbox.
- Fill in the Display name.
- Fill in the Email address and pick your domain.
- Click Create. It takes a minute to appear in the list.
Part 3: Forward the mailbox to Twenty
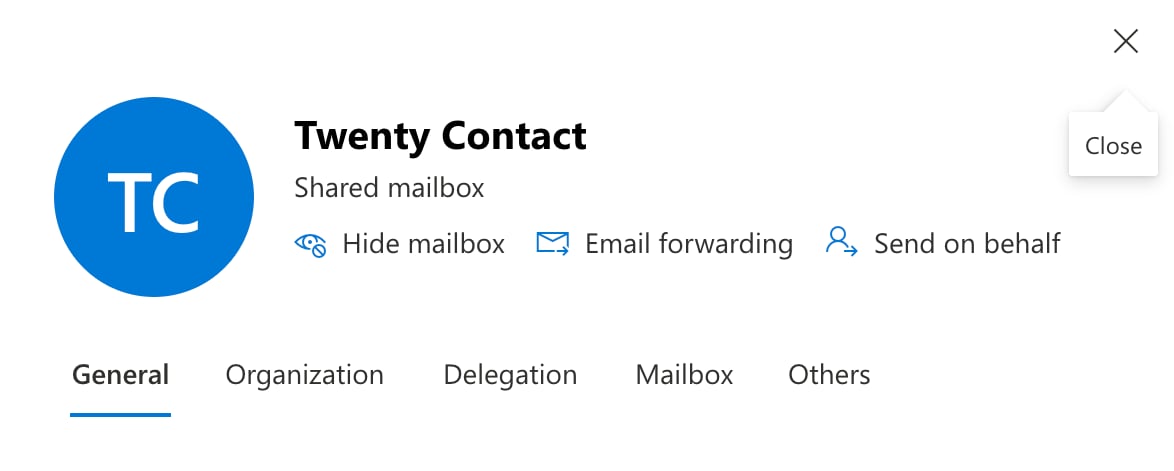
- In Recipients → Mailboxes, click the mailbox to open it.
- Click Email forwarding.
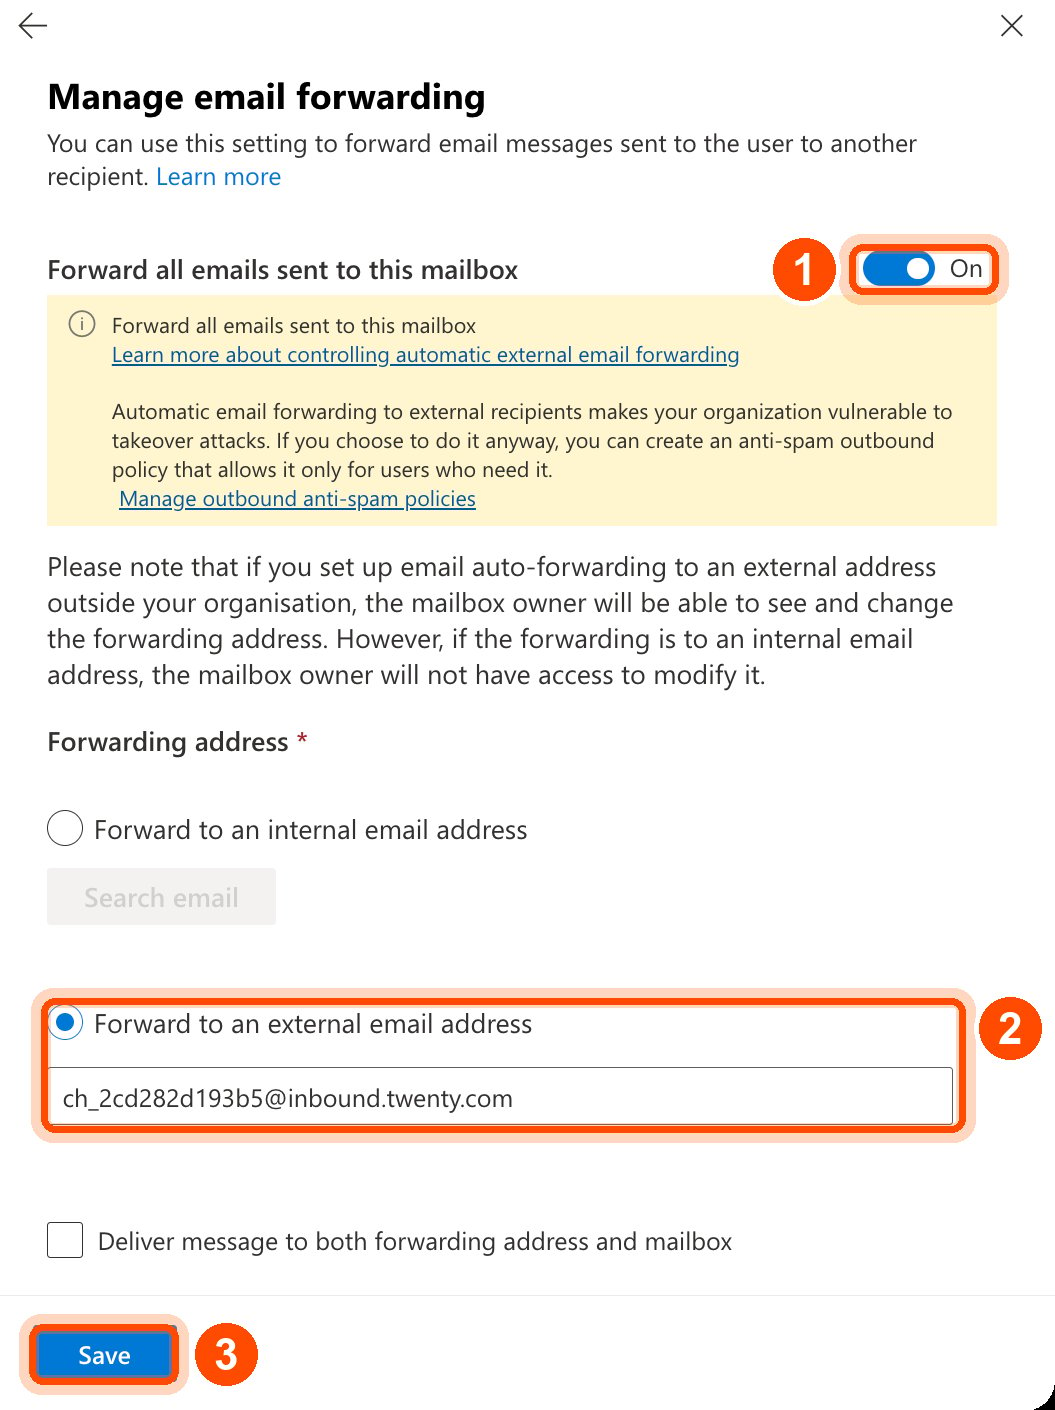
- Turn Forward all emails sent to this mailbox on.
- Choose Forward to an external email address and paste the forwarding address you copied from Twenty.
- Tick Deliver message to both forwarding address and mailbox so your team keeps a copy in Outlook.
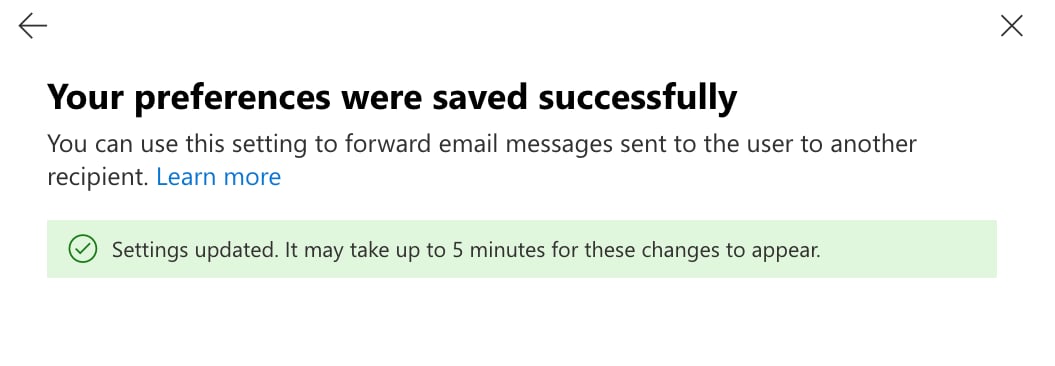
- Click Save.
Part 4: Allow forwarding to external addresses
This step is easy to miss. Without it, no mail reaches Twenty. By default, Microsoft 365 blocks automatic forwarding to addresses outside your organization. The mail is rejected and the original sender receives a bounce that reads:- Open the Microsoft Defender portal.
- Go to Email & collaboration → Policies & rules → Threat policies → Anti-spam.
- Open your Anti-spam outbound policy, or create a new one that applies only to your shared mailboxes.
- Click Edit protection settings.
- Set Automatic forwarding rules to On - Forwarding is enabled.
- Save.
Part 5: Test it
Send an email from an outside address (a personal Gmail works) tocontact@yourcompany.com. It should appear in Twenty within a minute or two.
Troubleshooting
Senders get a 5.7.520 bounce
Senders get a 5.7.520 bounce
External forwarding is still blocked. Repeat Part 4 and confirm the policy you
edited applies to this mailbox.
Nothing arrives, and there is no bounce either
Nothing arrives, and there is no bounce either
Compare the forwarding address in Exchange character for character with the
one in Twenty. A single wrong character means the mail is delivered nowhere
useful and silently dropped.
Mail no longer appears in Outlook
Mail no longer appears in Outlook
Deliver message to both forwarding address and mailbox was left unticked.
Tick it and save.
The channel receives mail but cannot send
The channel receives mail but cannot send
Receiving and sending are separate. Sending requires your domain to be
verified under the channel’s Sending domain section, which means adding
the DNS records Twenty lists there.